A few weeks ago I started working on a new weekend project. I wanted to build a mini-computer that could sit on my desk and display what I was currently listening to. A simple idea. After completing it, I figured I should write up the entire process, because if I don’t blog about it … did it really happen?
I’ve compiled everything I used in making the little device, and walked through the process below. Most of it is pretty straight forward if you’ve ever worked with a Raspberry Pi or Unix before, and I documented the tutorials I used as well as the actual code I used for the website.
What is it?
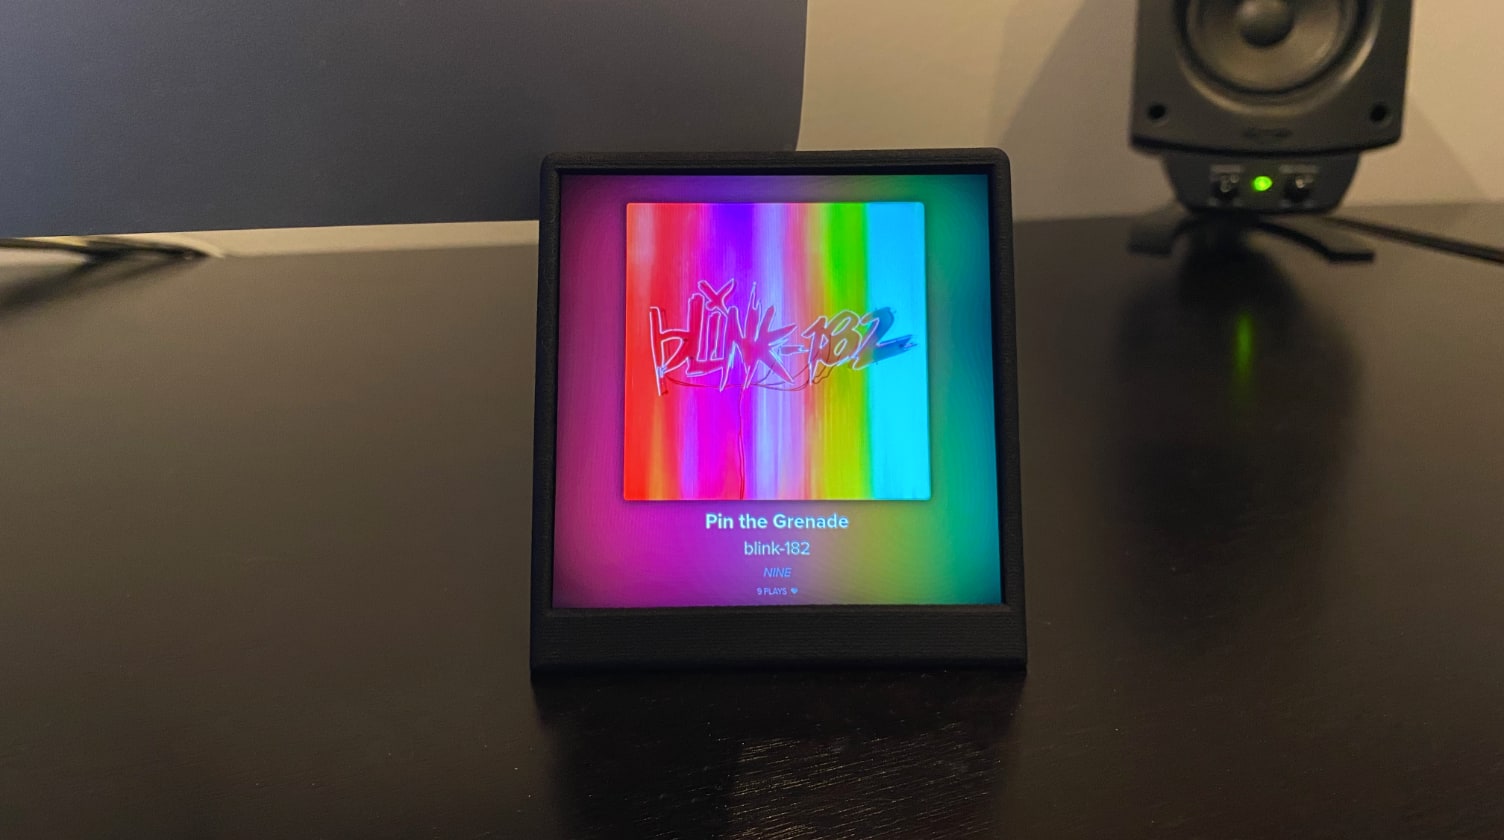
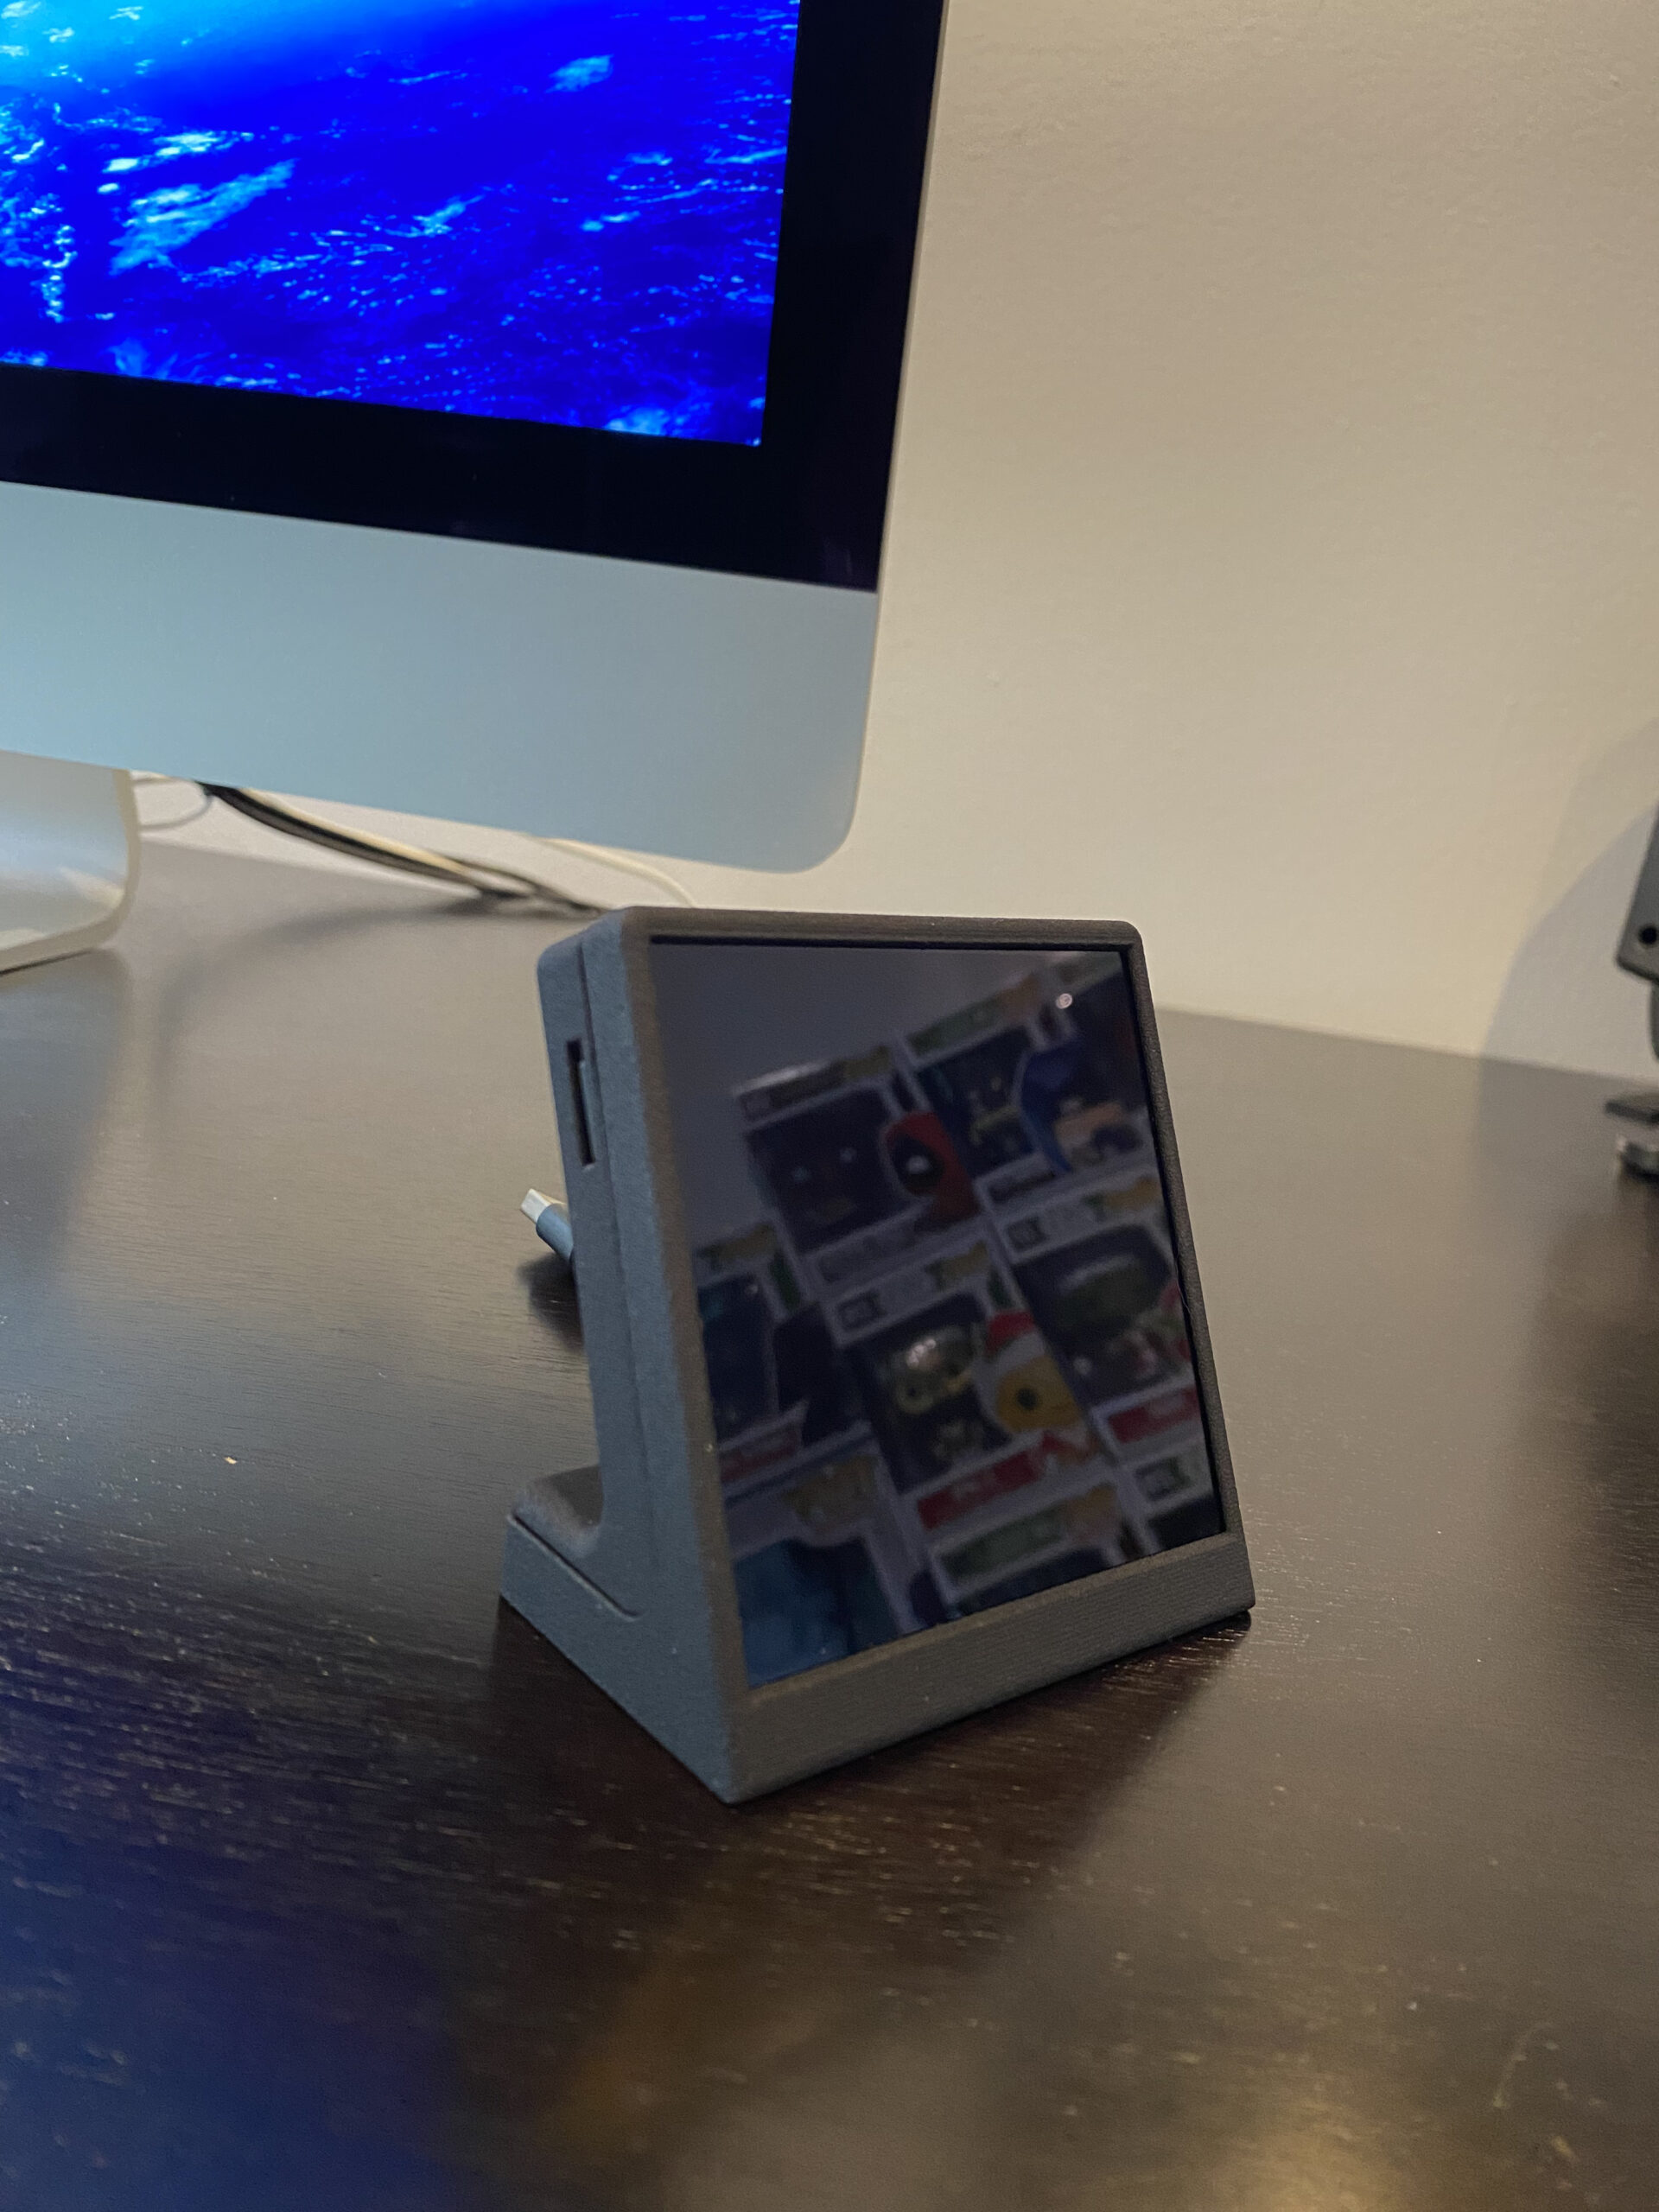
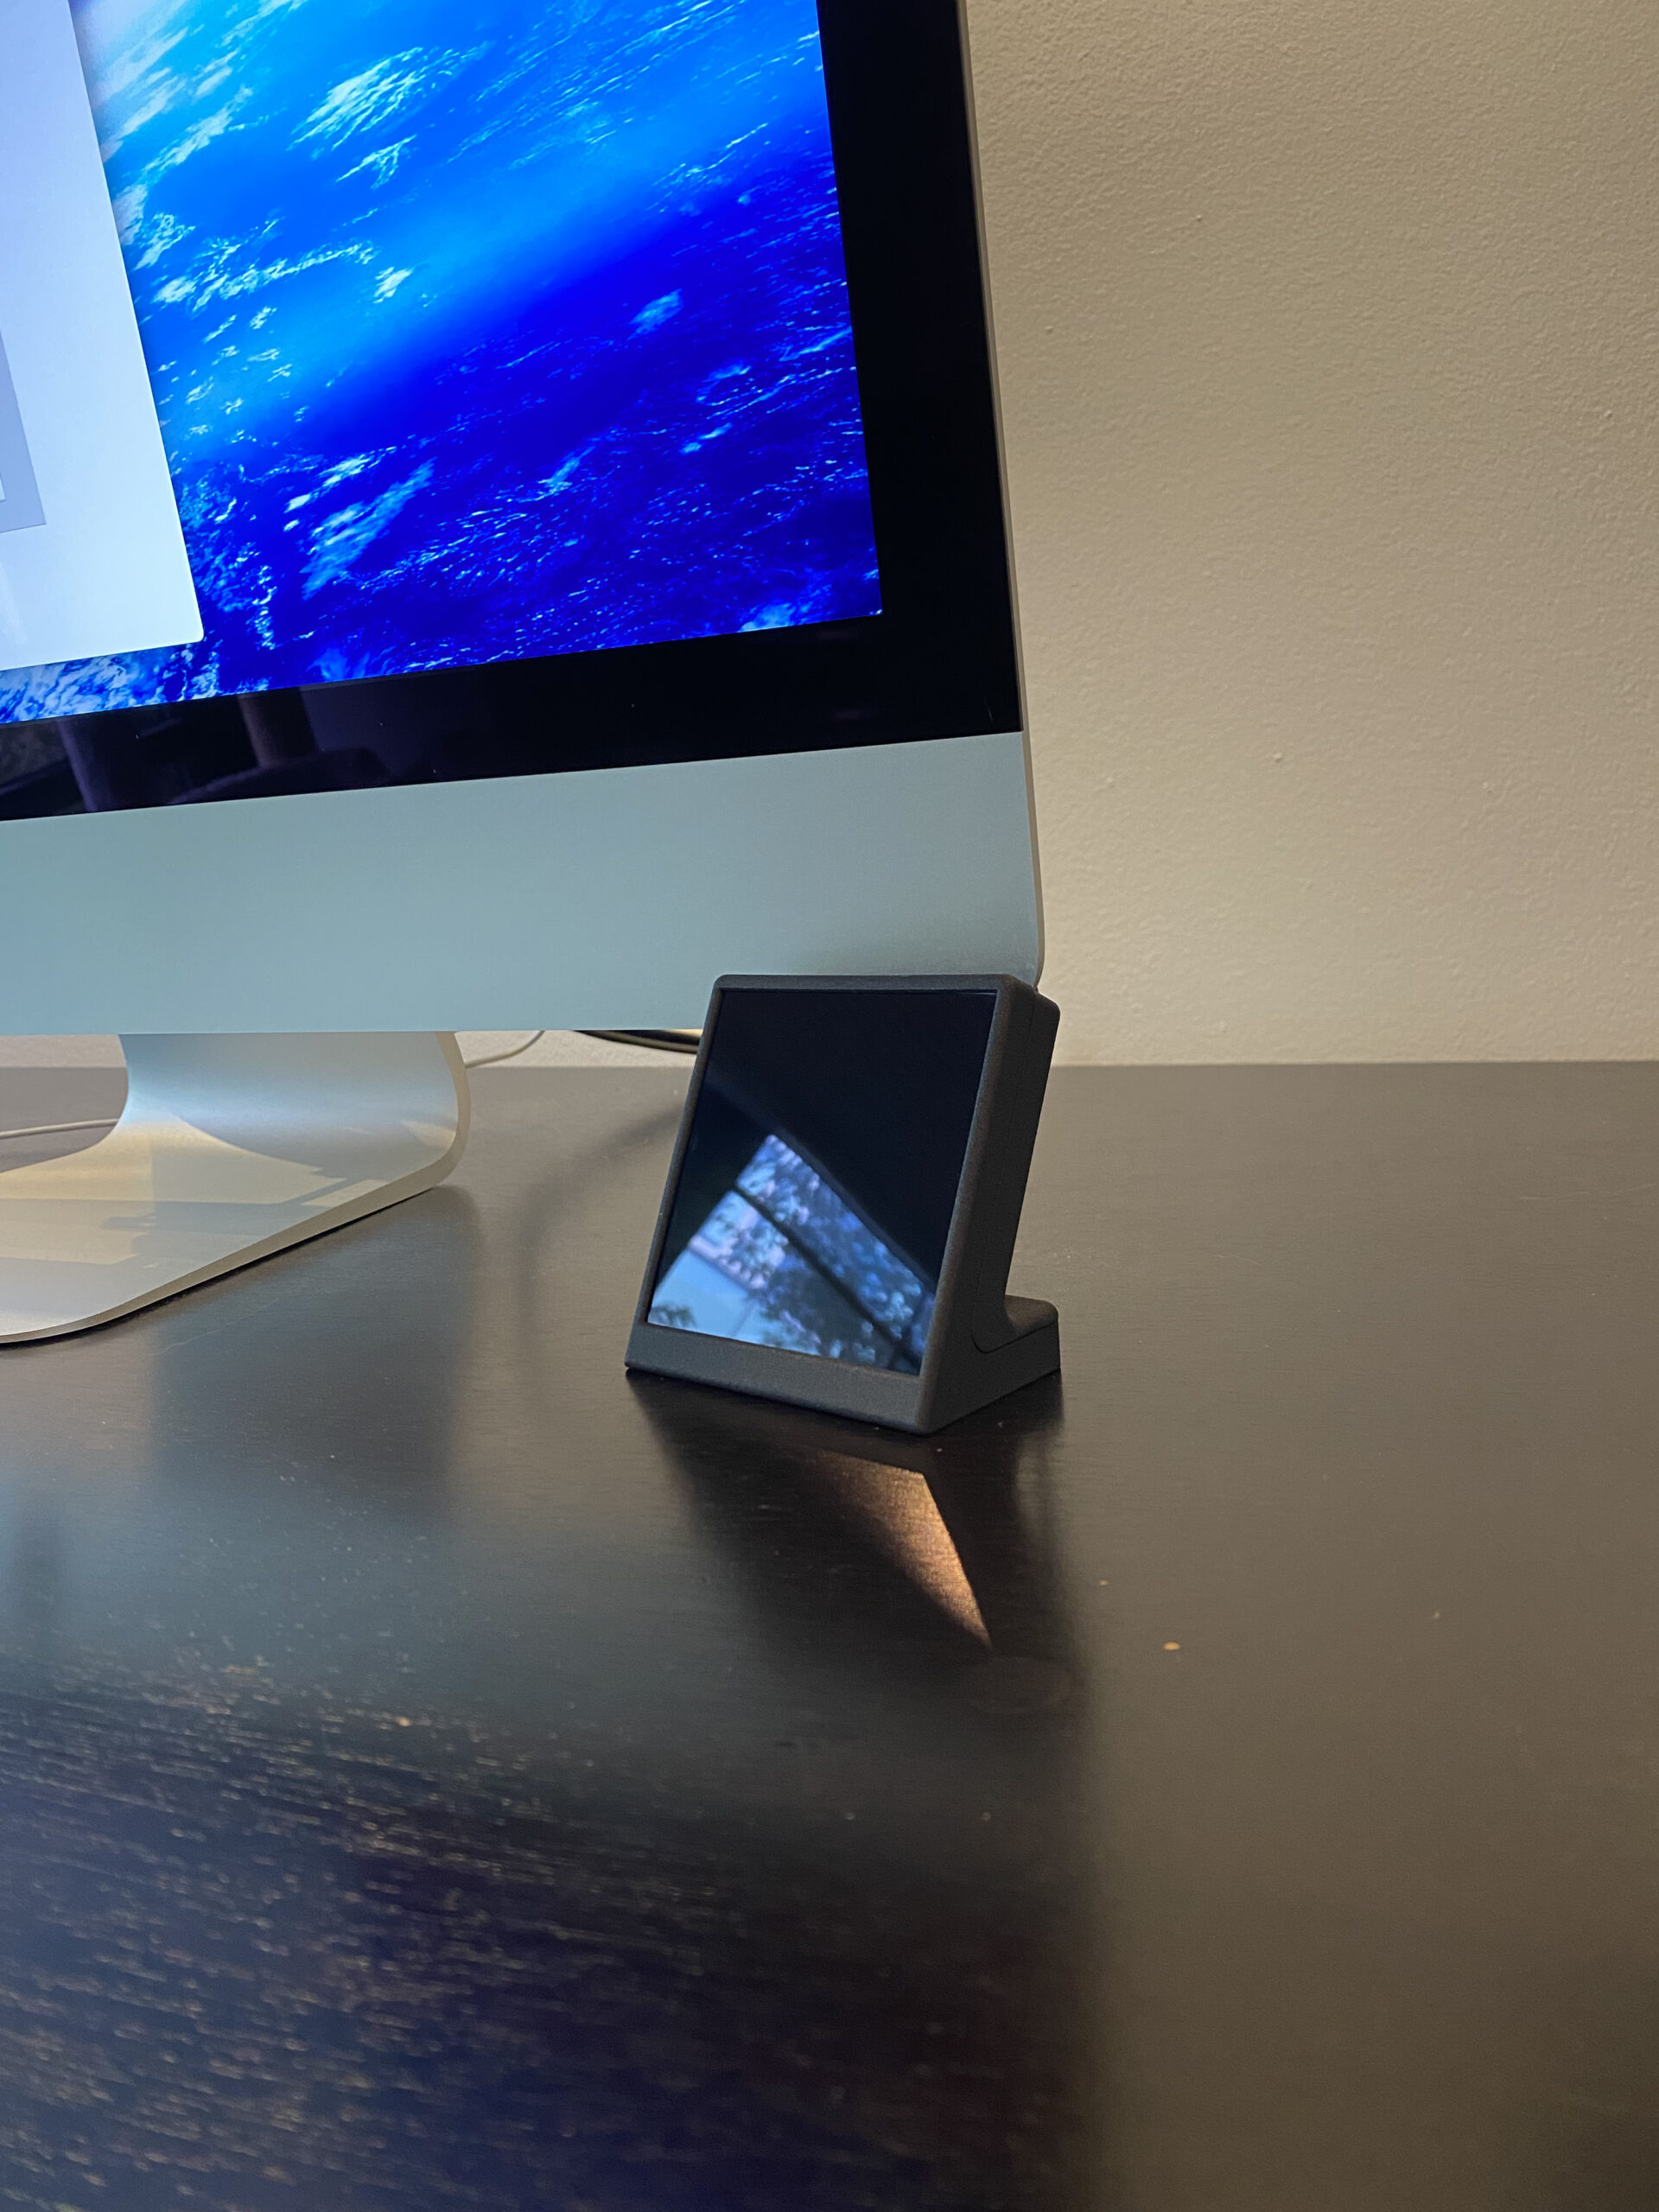
A small Raspberry Pi powered screen that displays what I am currently listening to. It sits, unassuming, next to my computer on the desk. When no music is playing it displays my most listened to albums from the past week, as well as my music listening stats pulled from Last.fm.
Why did I build this?
To start, I was looking for a project and something fun to work on during the weekend. I wanted to explore the Raspberry Pi world and I wanted a technical challenge that would let me flex some dormant programing muscles. During the day, I listen to a lot of music, and I always thought it would be cool to display what was now playing on my desk. Much like some of the home theatre now playing projects I’ve seen online, I wanted something similar for my desk. I appreciate the software, like Neptunes, that can display album artwork on your desktop. However, I don’t want to have to move my windows to see it, and I like the idea of having a little physical device that I can design to work exactly how I want.
The Tools
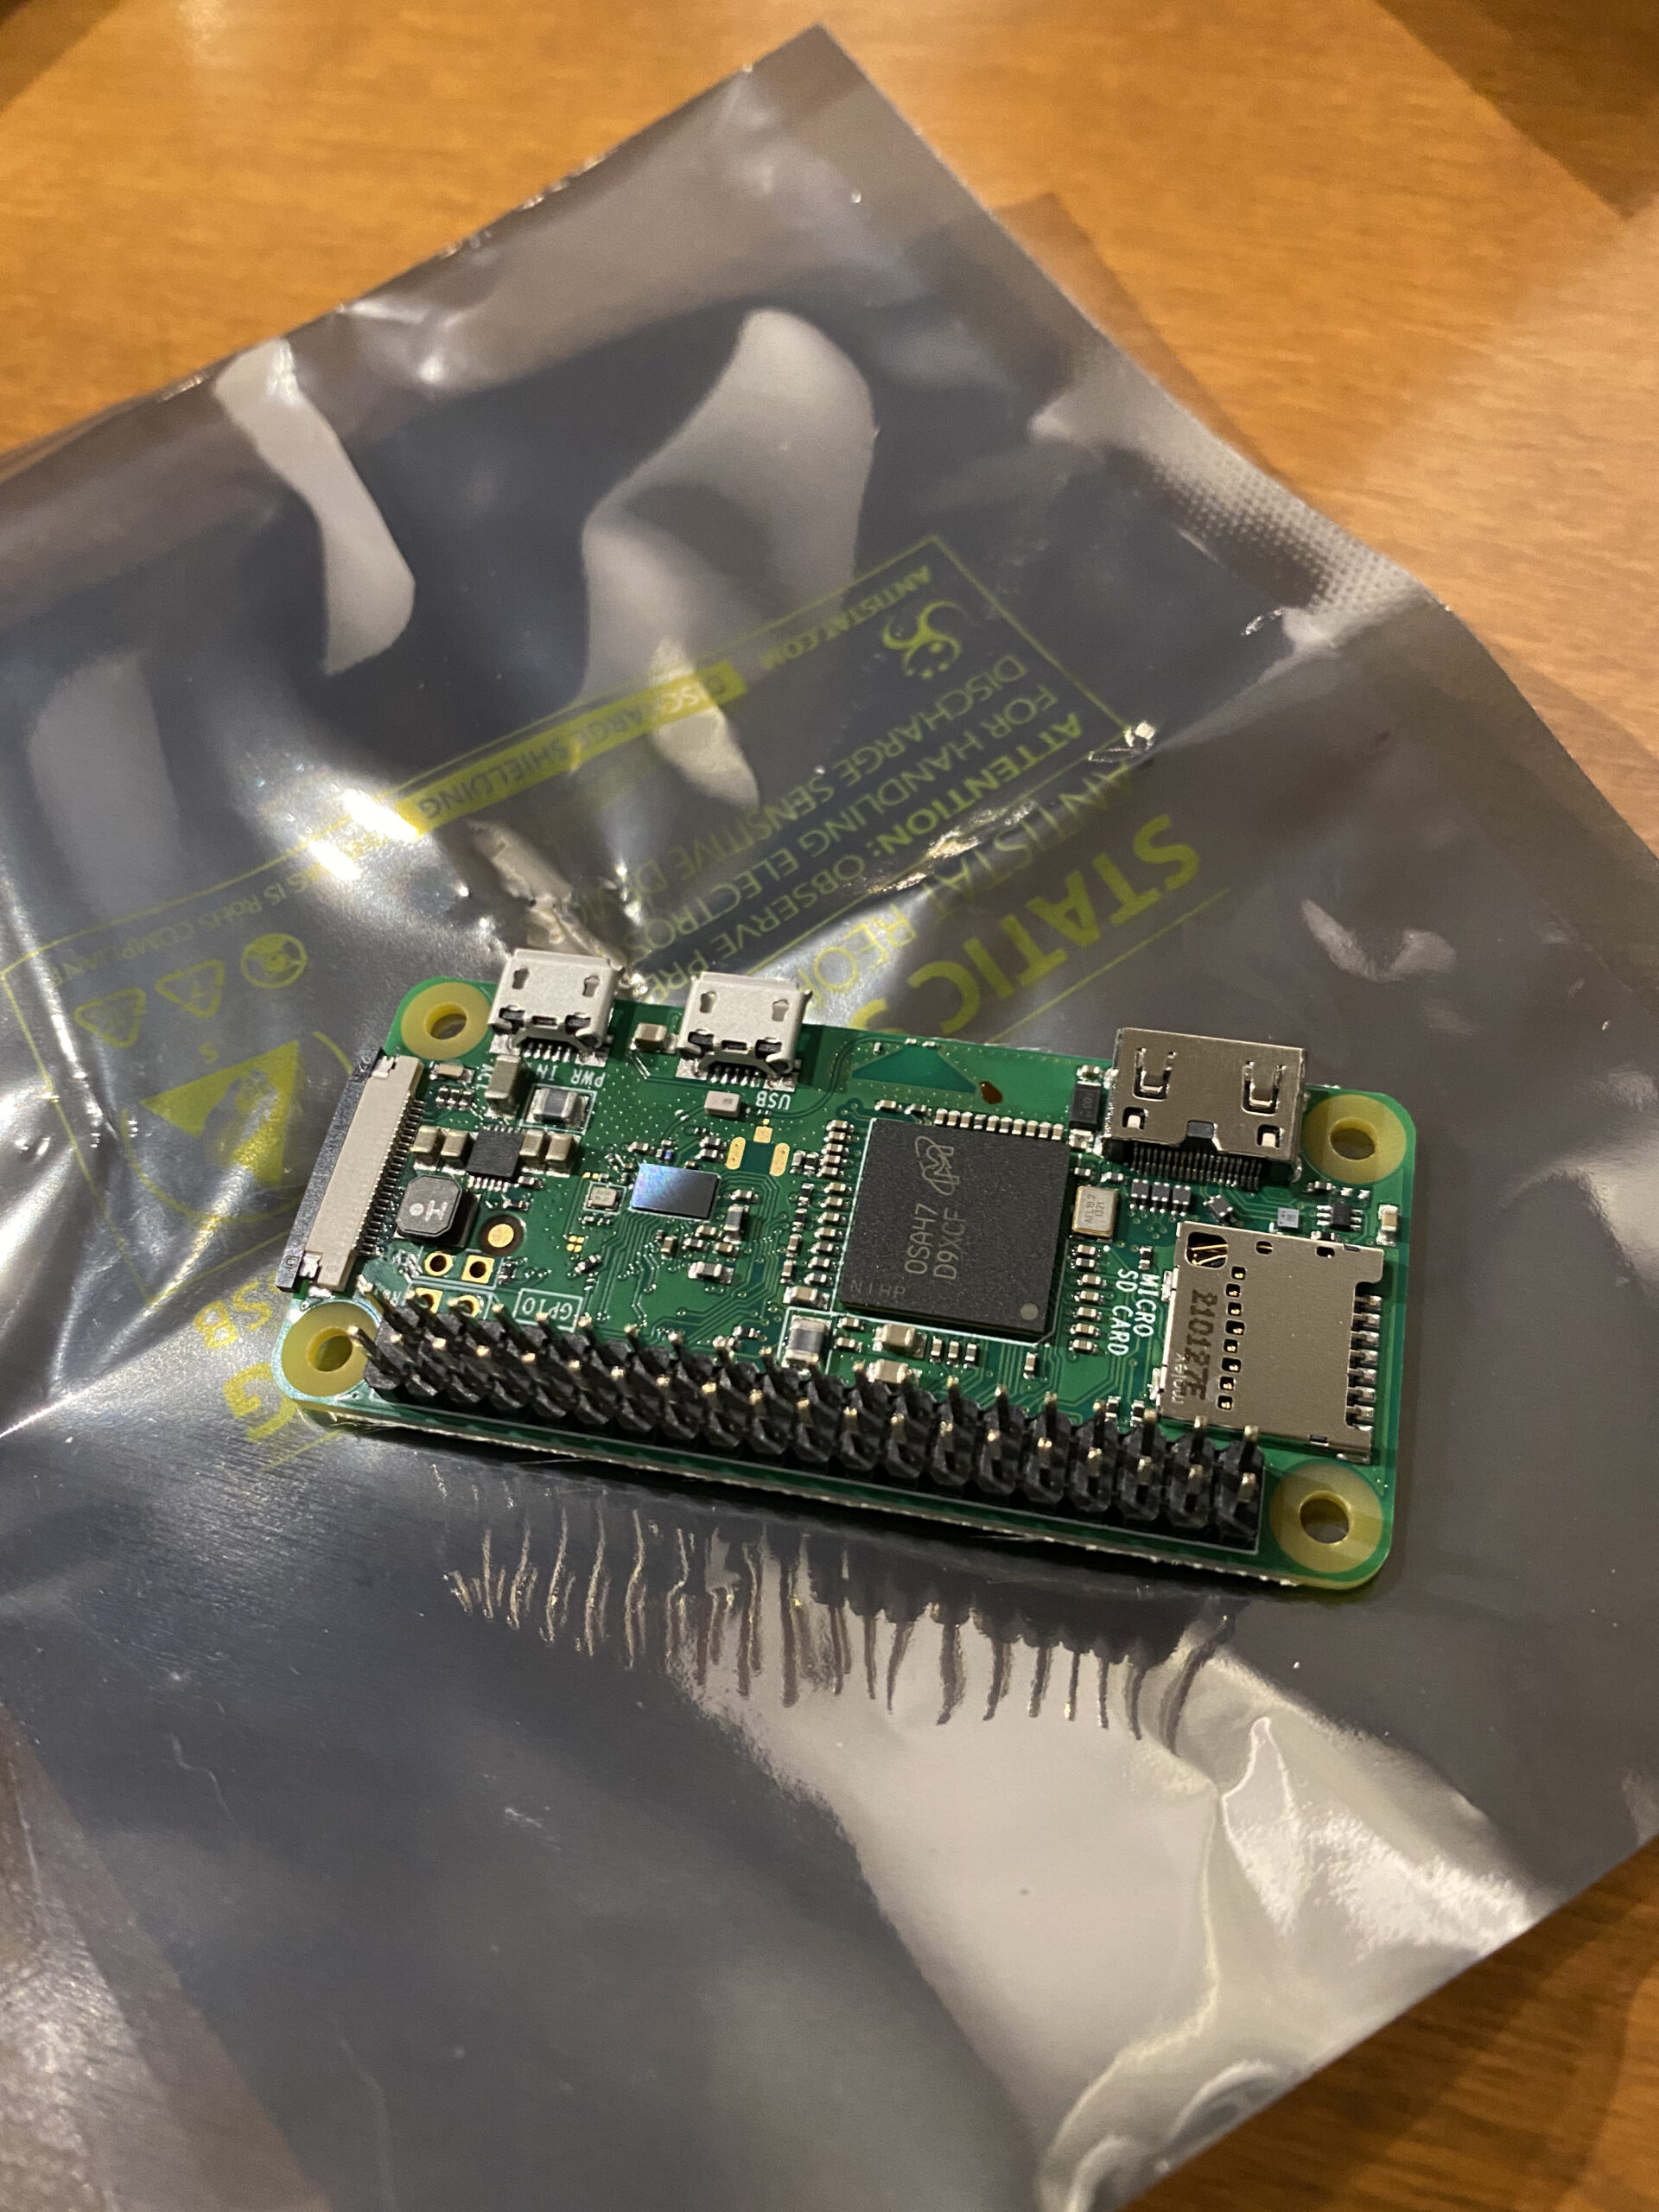
- Raspberry Pi Zero WH
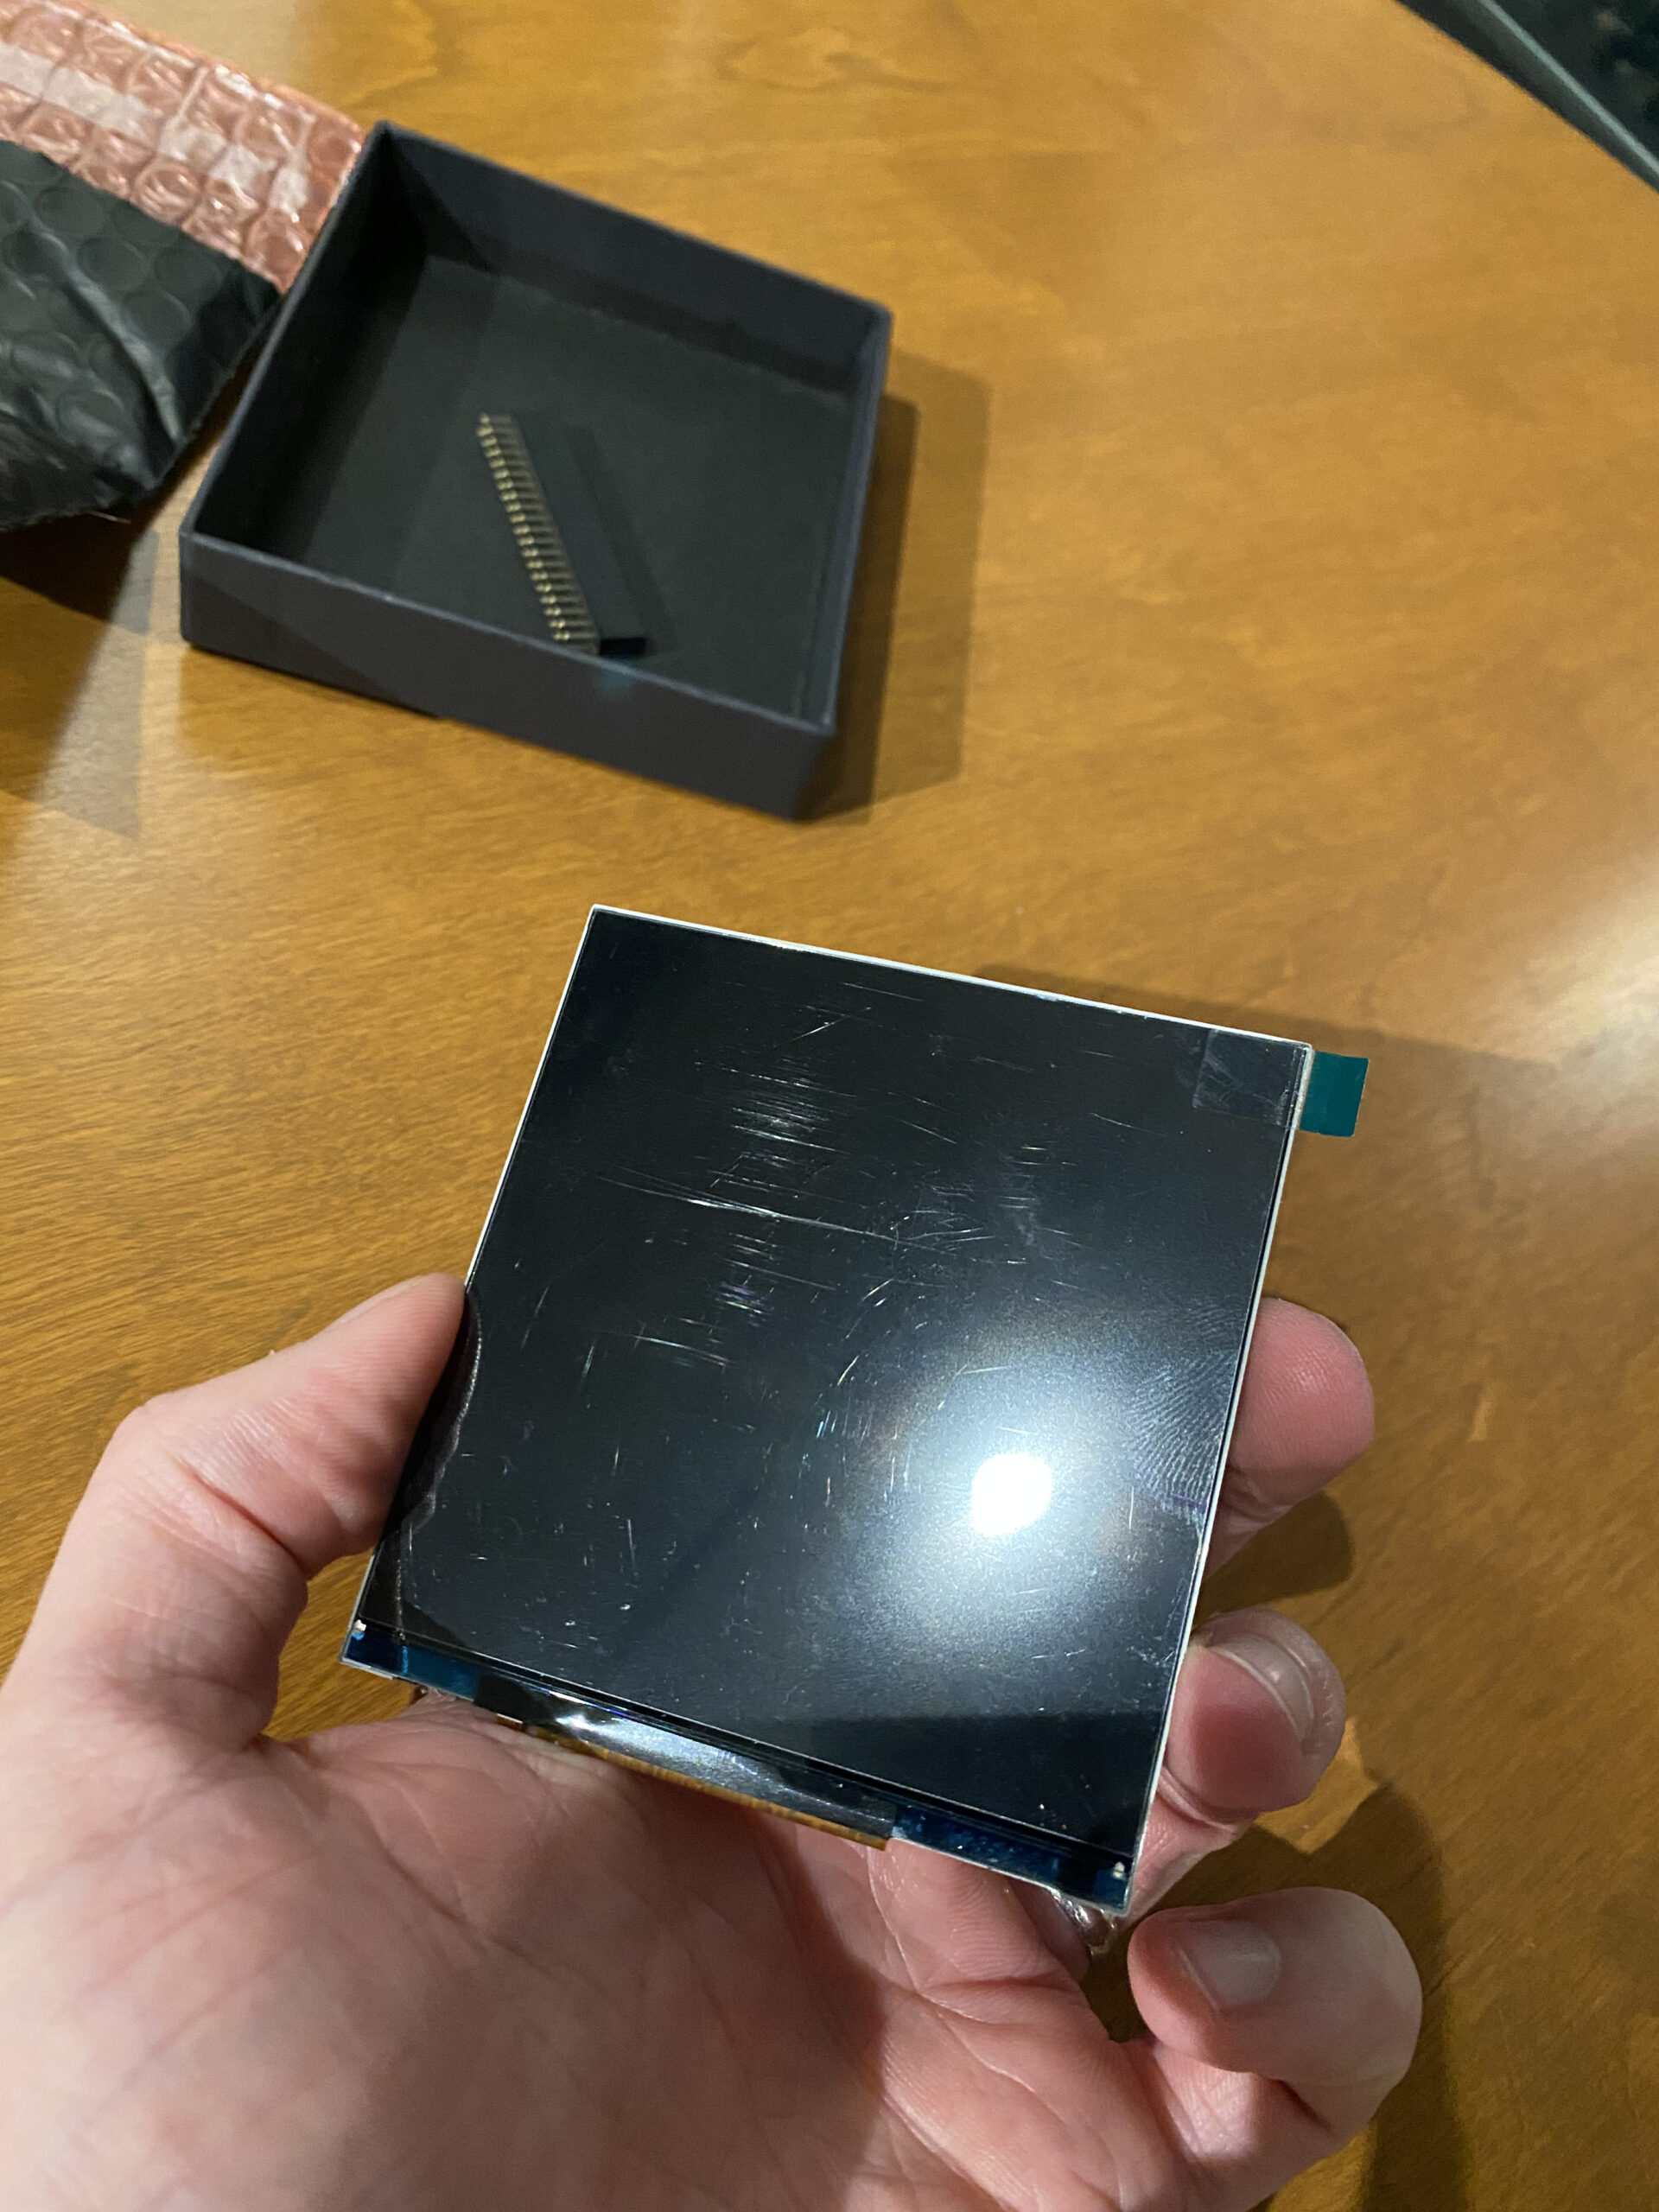
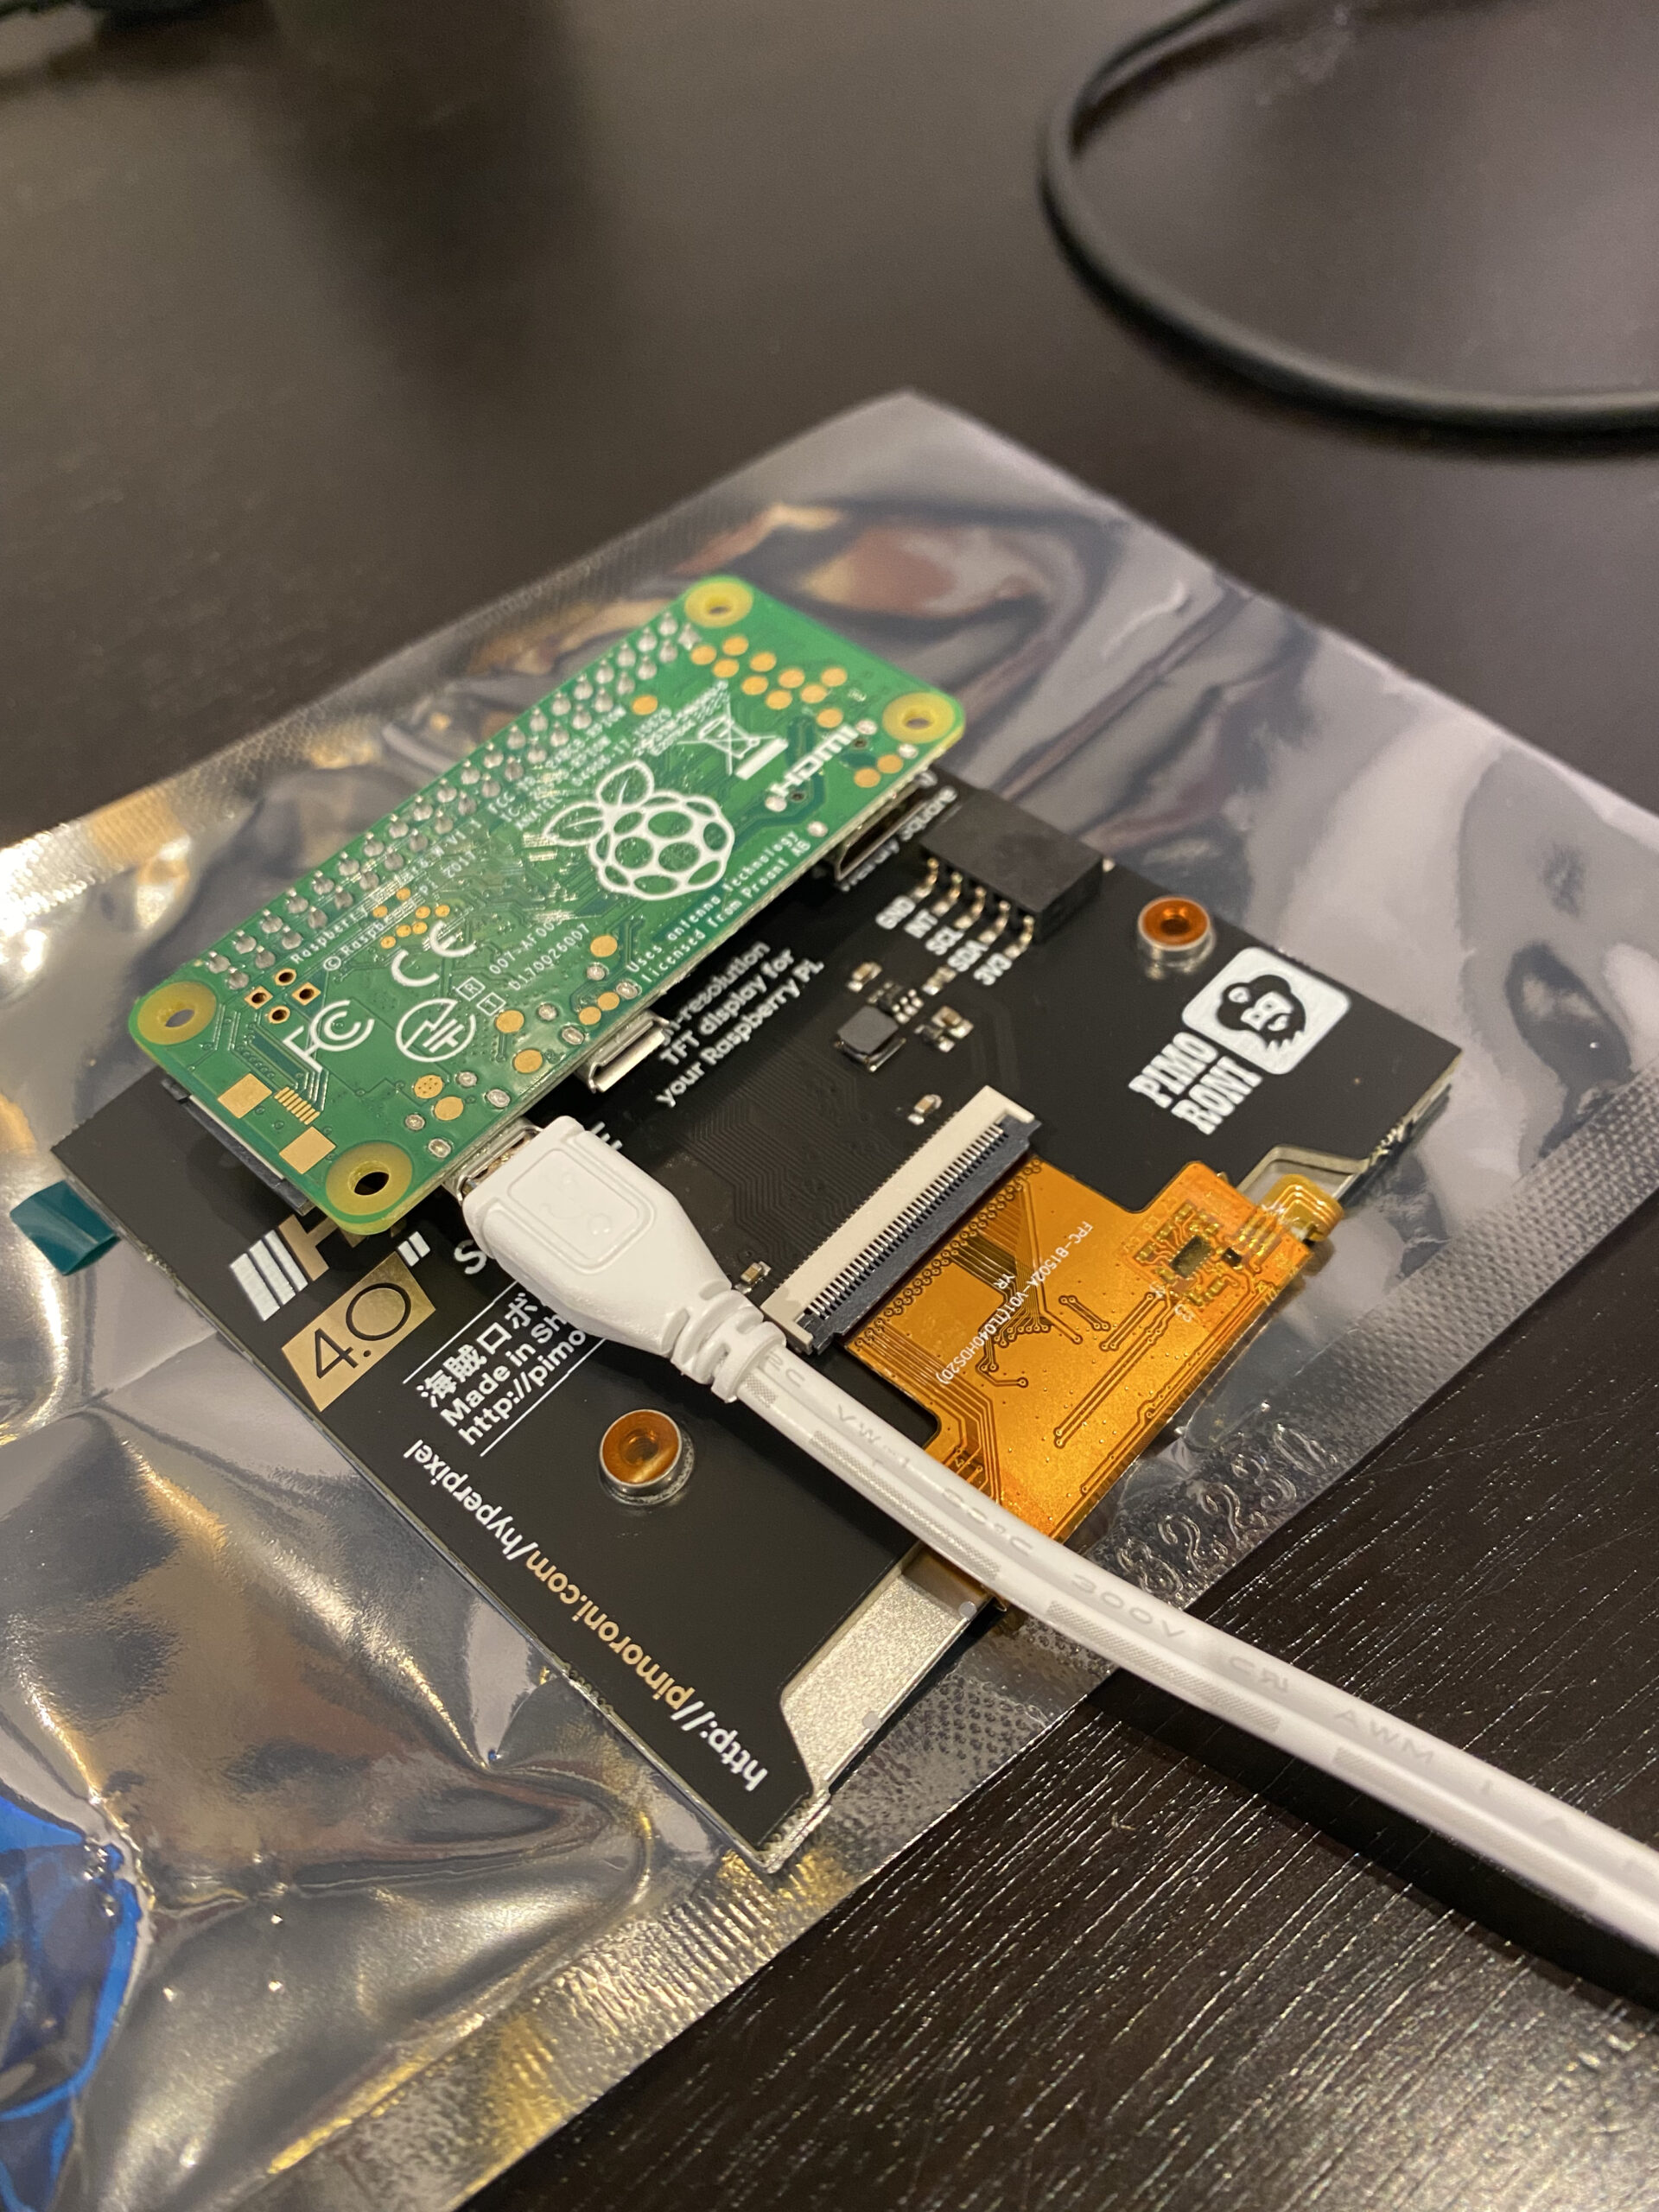
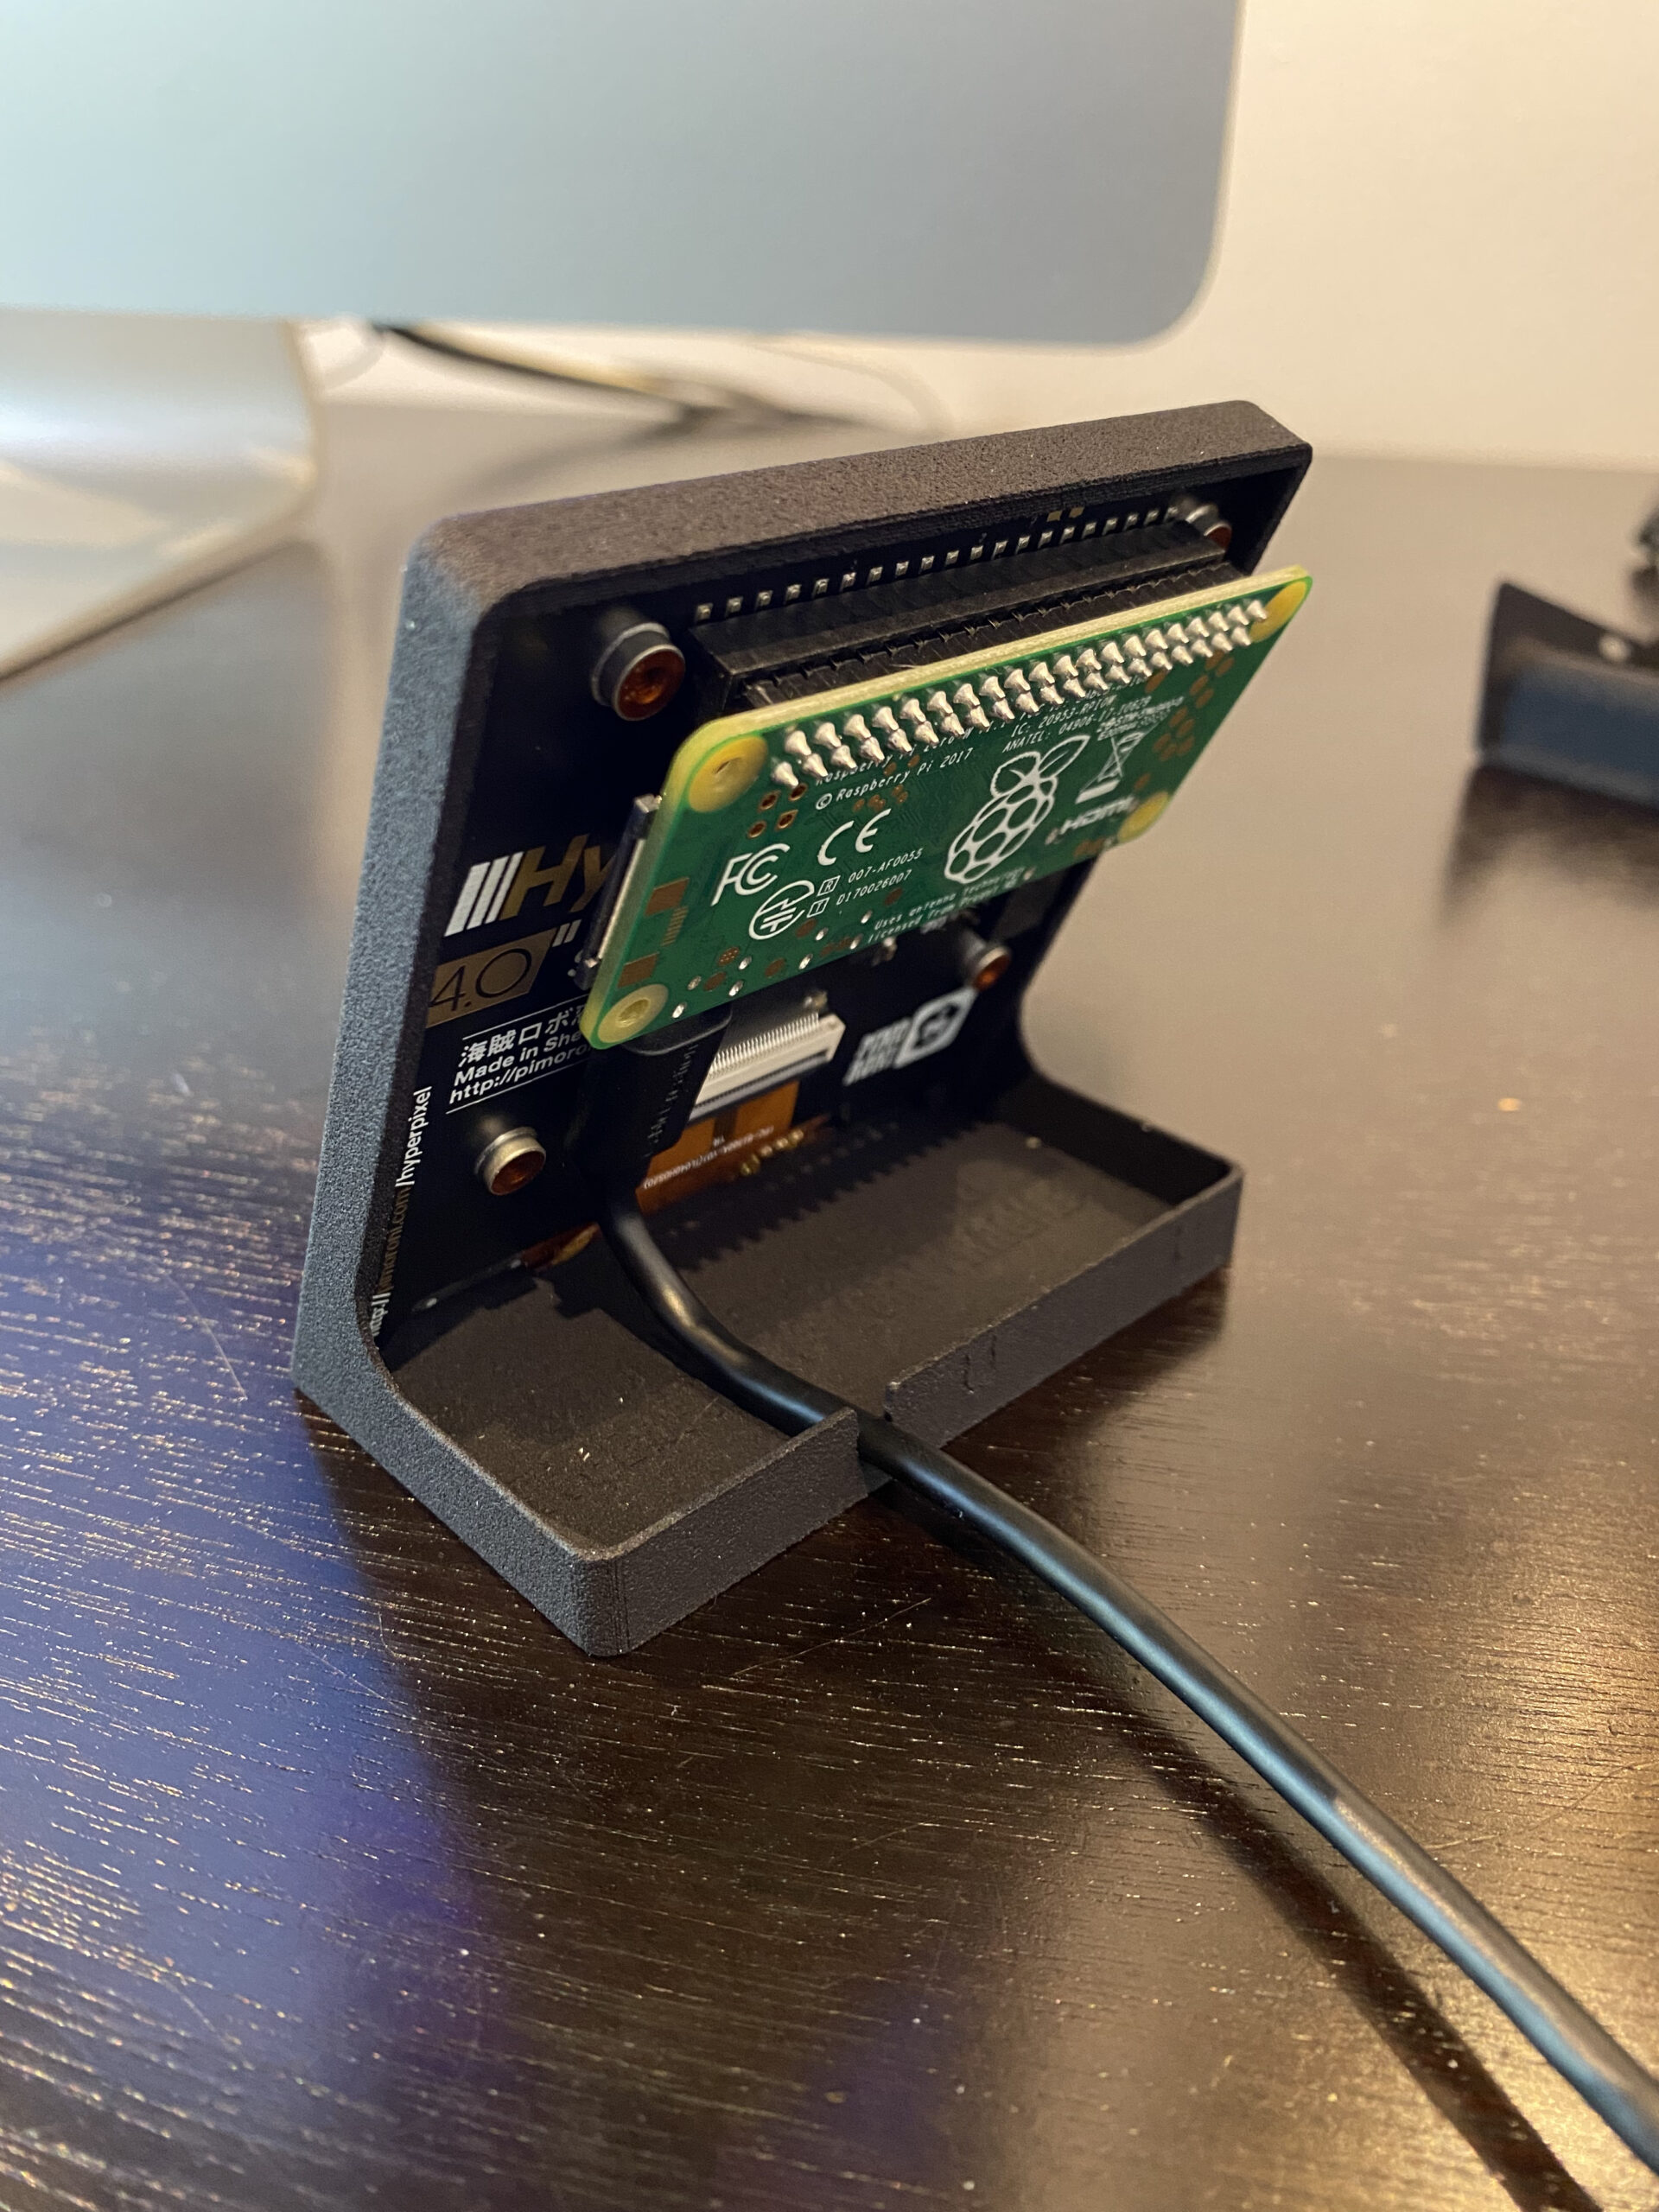
- Hyperpixel 4.0 Square (Non-Touch)
- Micro SD Card
- Micro USB Cable
- USB On/Off Switch
- 3D Printed Case
Creating It / How’s it Work
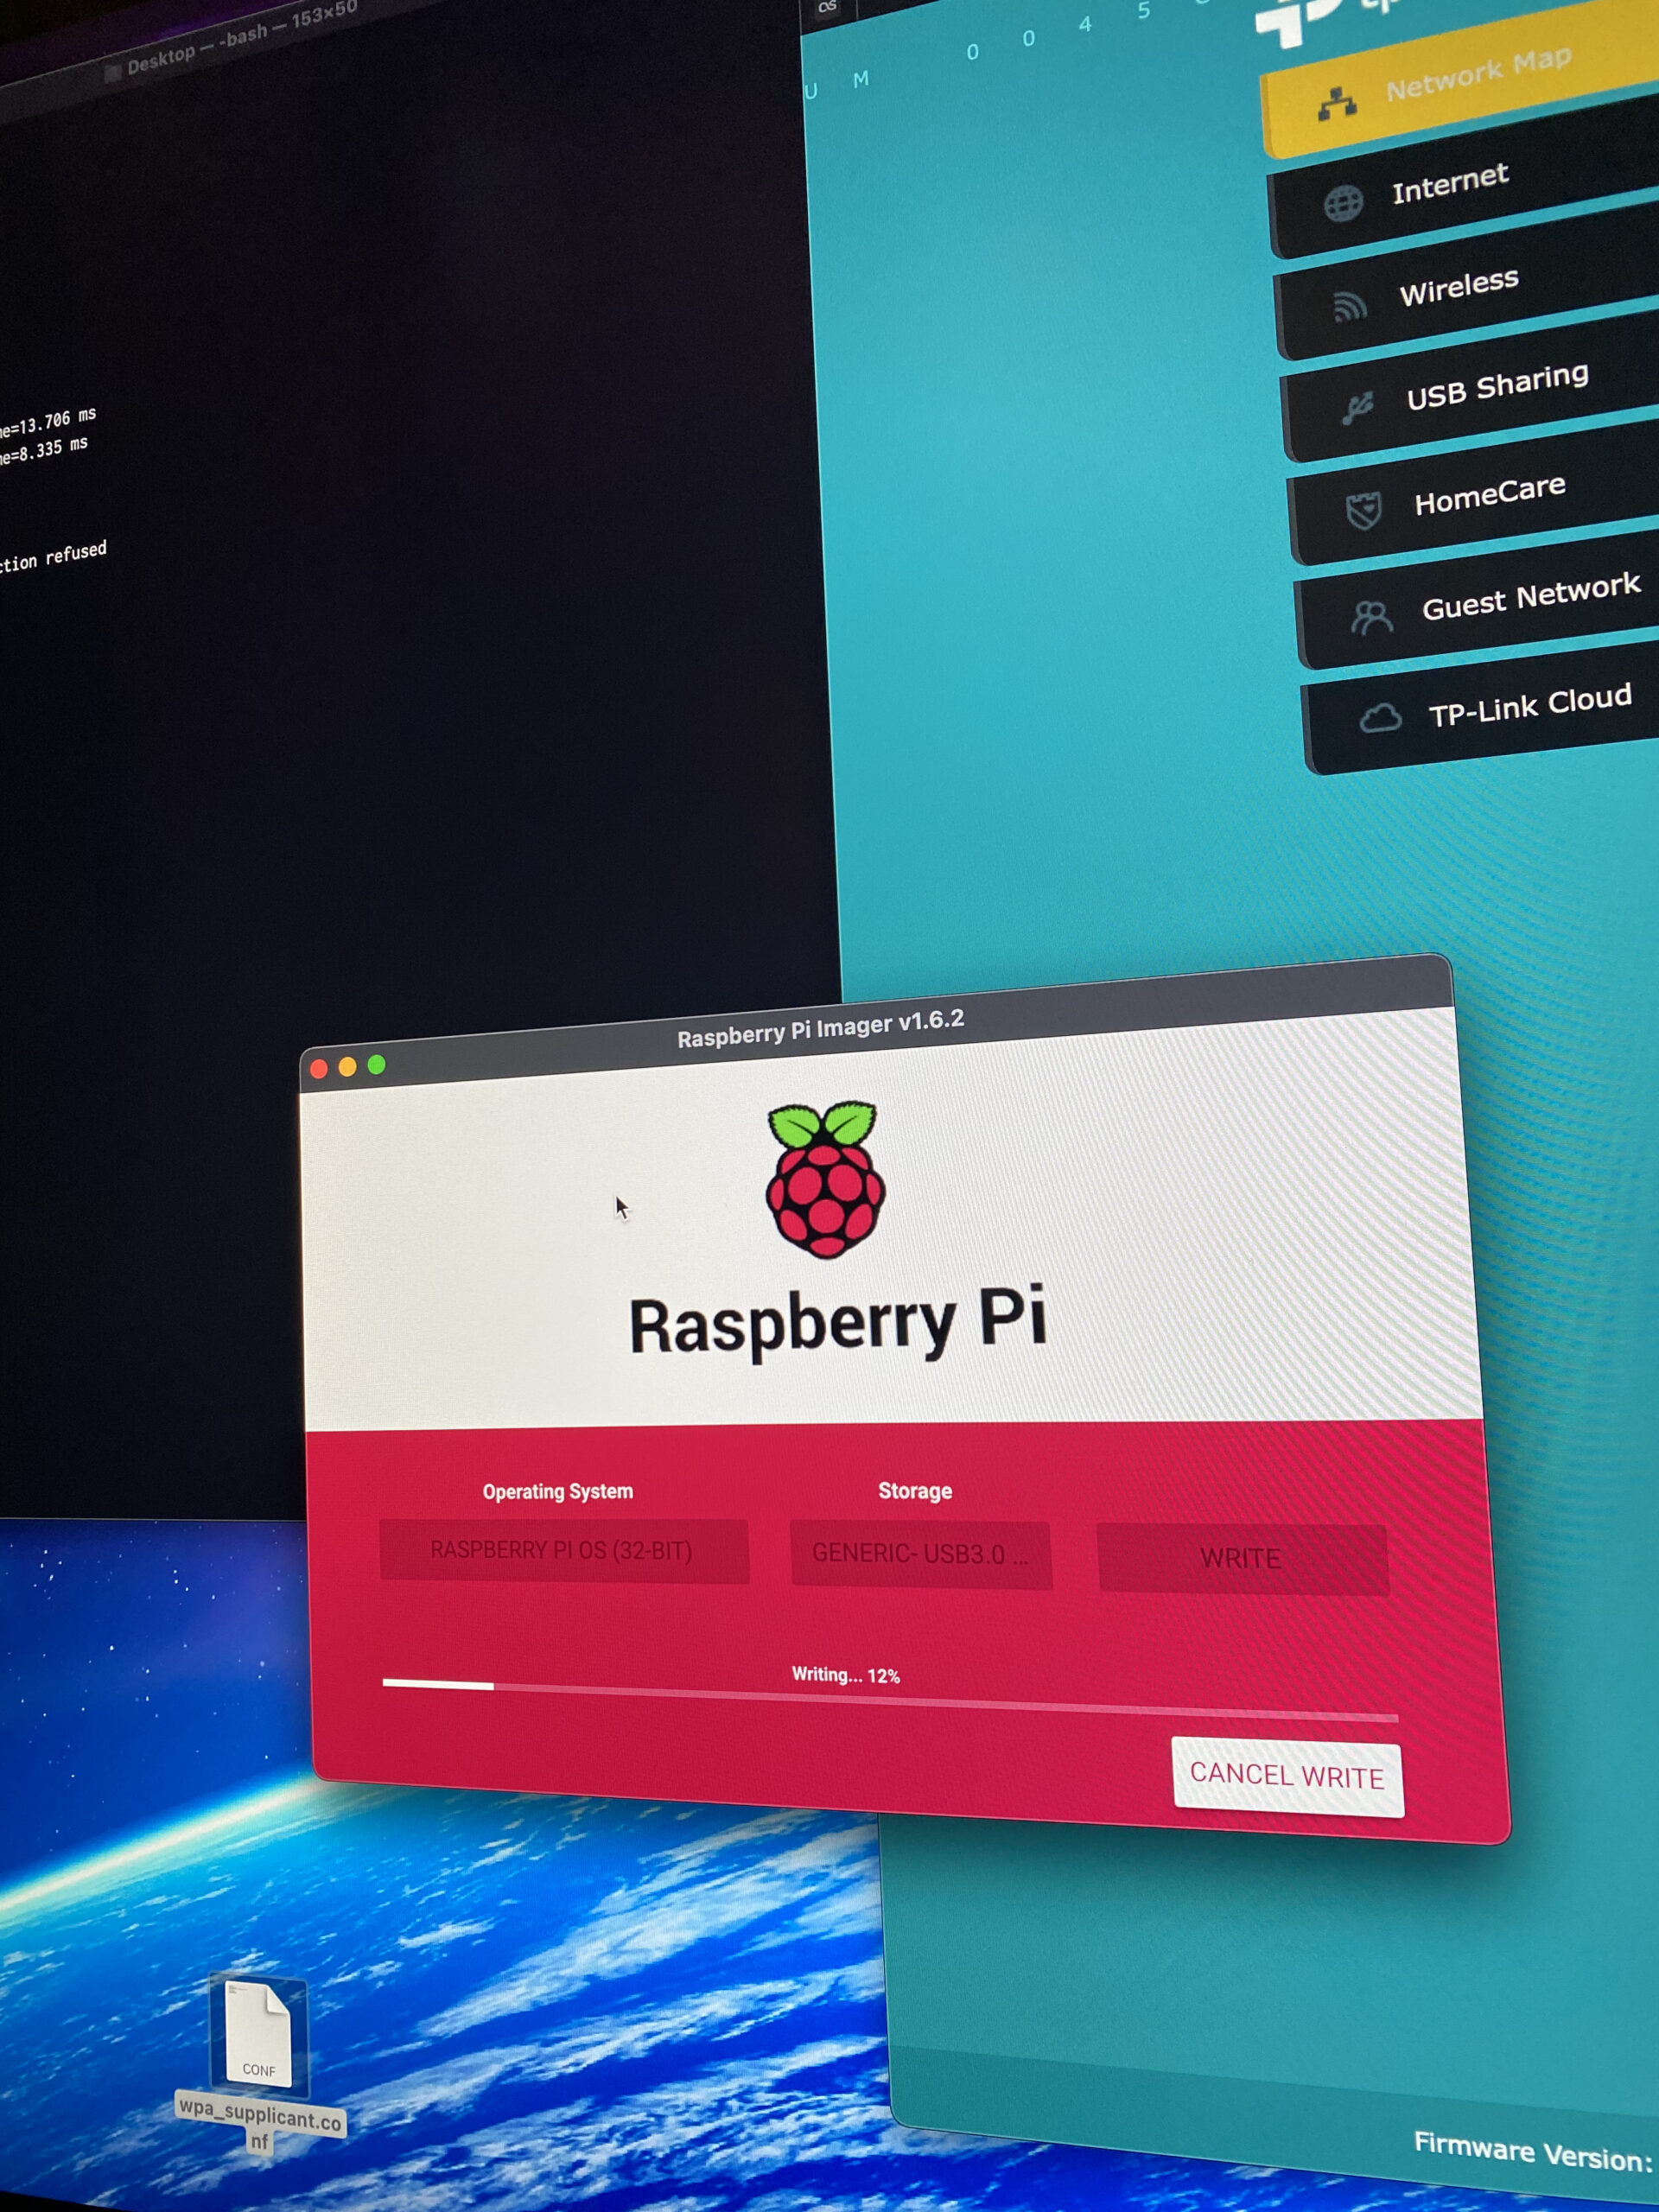
I started by following this basic guide to setting up a headless Raspberry Pi that can connect to my home WiFi. Next, I followed these basic steps to install the HyperPixel software so that the little screen worked. I knew that I basically wanted to set it up so that every time I booted up the device it would automatically open up a predefined website and sit there in a glorified kiosk mode. Relatively easy.
SSH into the Raspberry PI and type these commands:
cd .config
sudo mkdir -p lxsession/LXDE-pi
sudo nano lxsession/LXDE-pi/autostart
And then copy and paste this:
@lxpanel --profile LXDE-pi
@pcmanfm --desktop --profile LXDE-pi
@xscreensaver -no-splash
point-rpi
@xset s noblank
@xset s off
@xset -dpms
@chromium-browser --start-fullscreen --start-maximized https://chorus.fm
Save. Exit. Reboot the Pi.
Now I just needed to create the website. I thought about installing a little LAMP environment on the Pi itself to act as its own web-server, but decided I’d rather just run it off one of the servers I already operate. This one. That way it would also have a secondary function: letting me know if my server ever goes down. The code itself is very simple PHP, Javascript, and CSS. (I doubt the Pi would have any trouble running it locally if you wanted to go that route.)
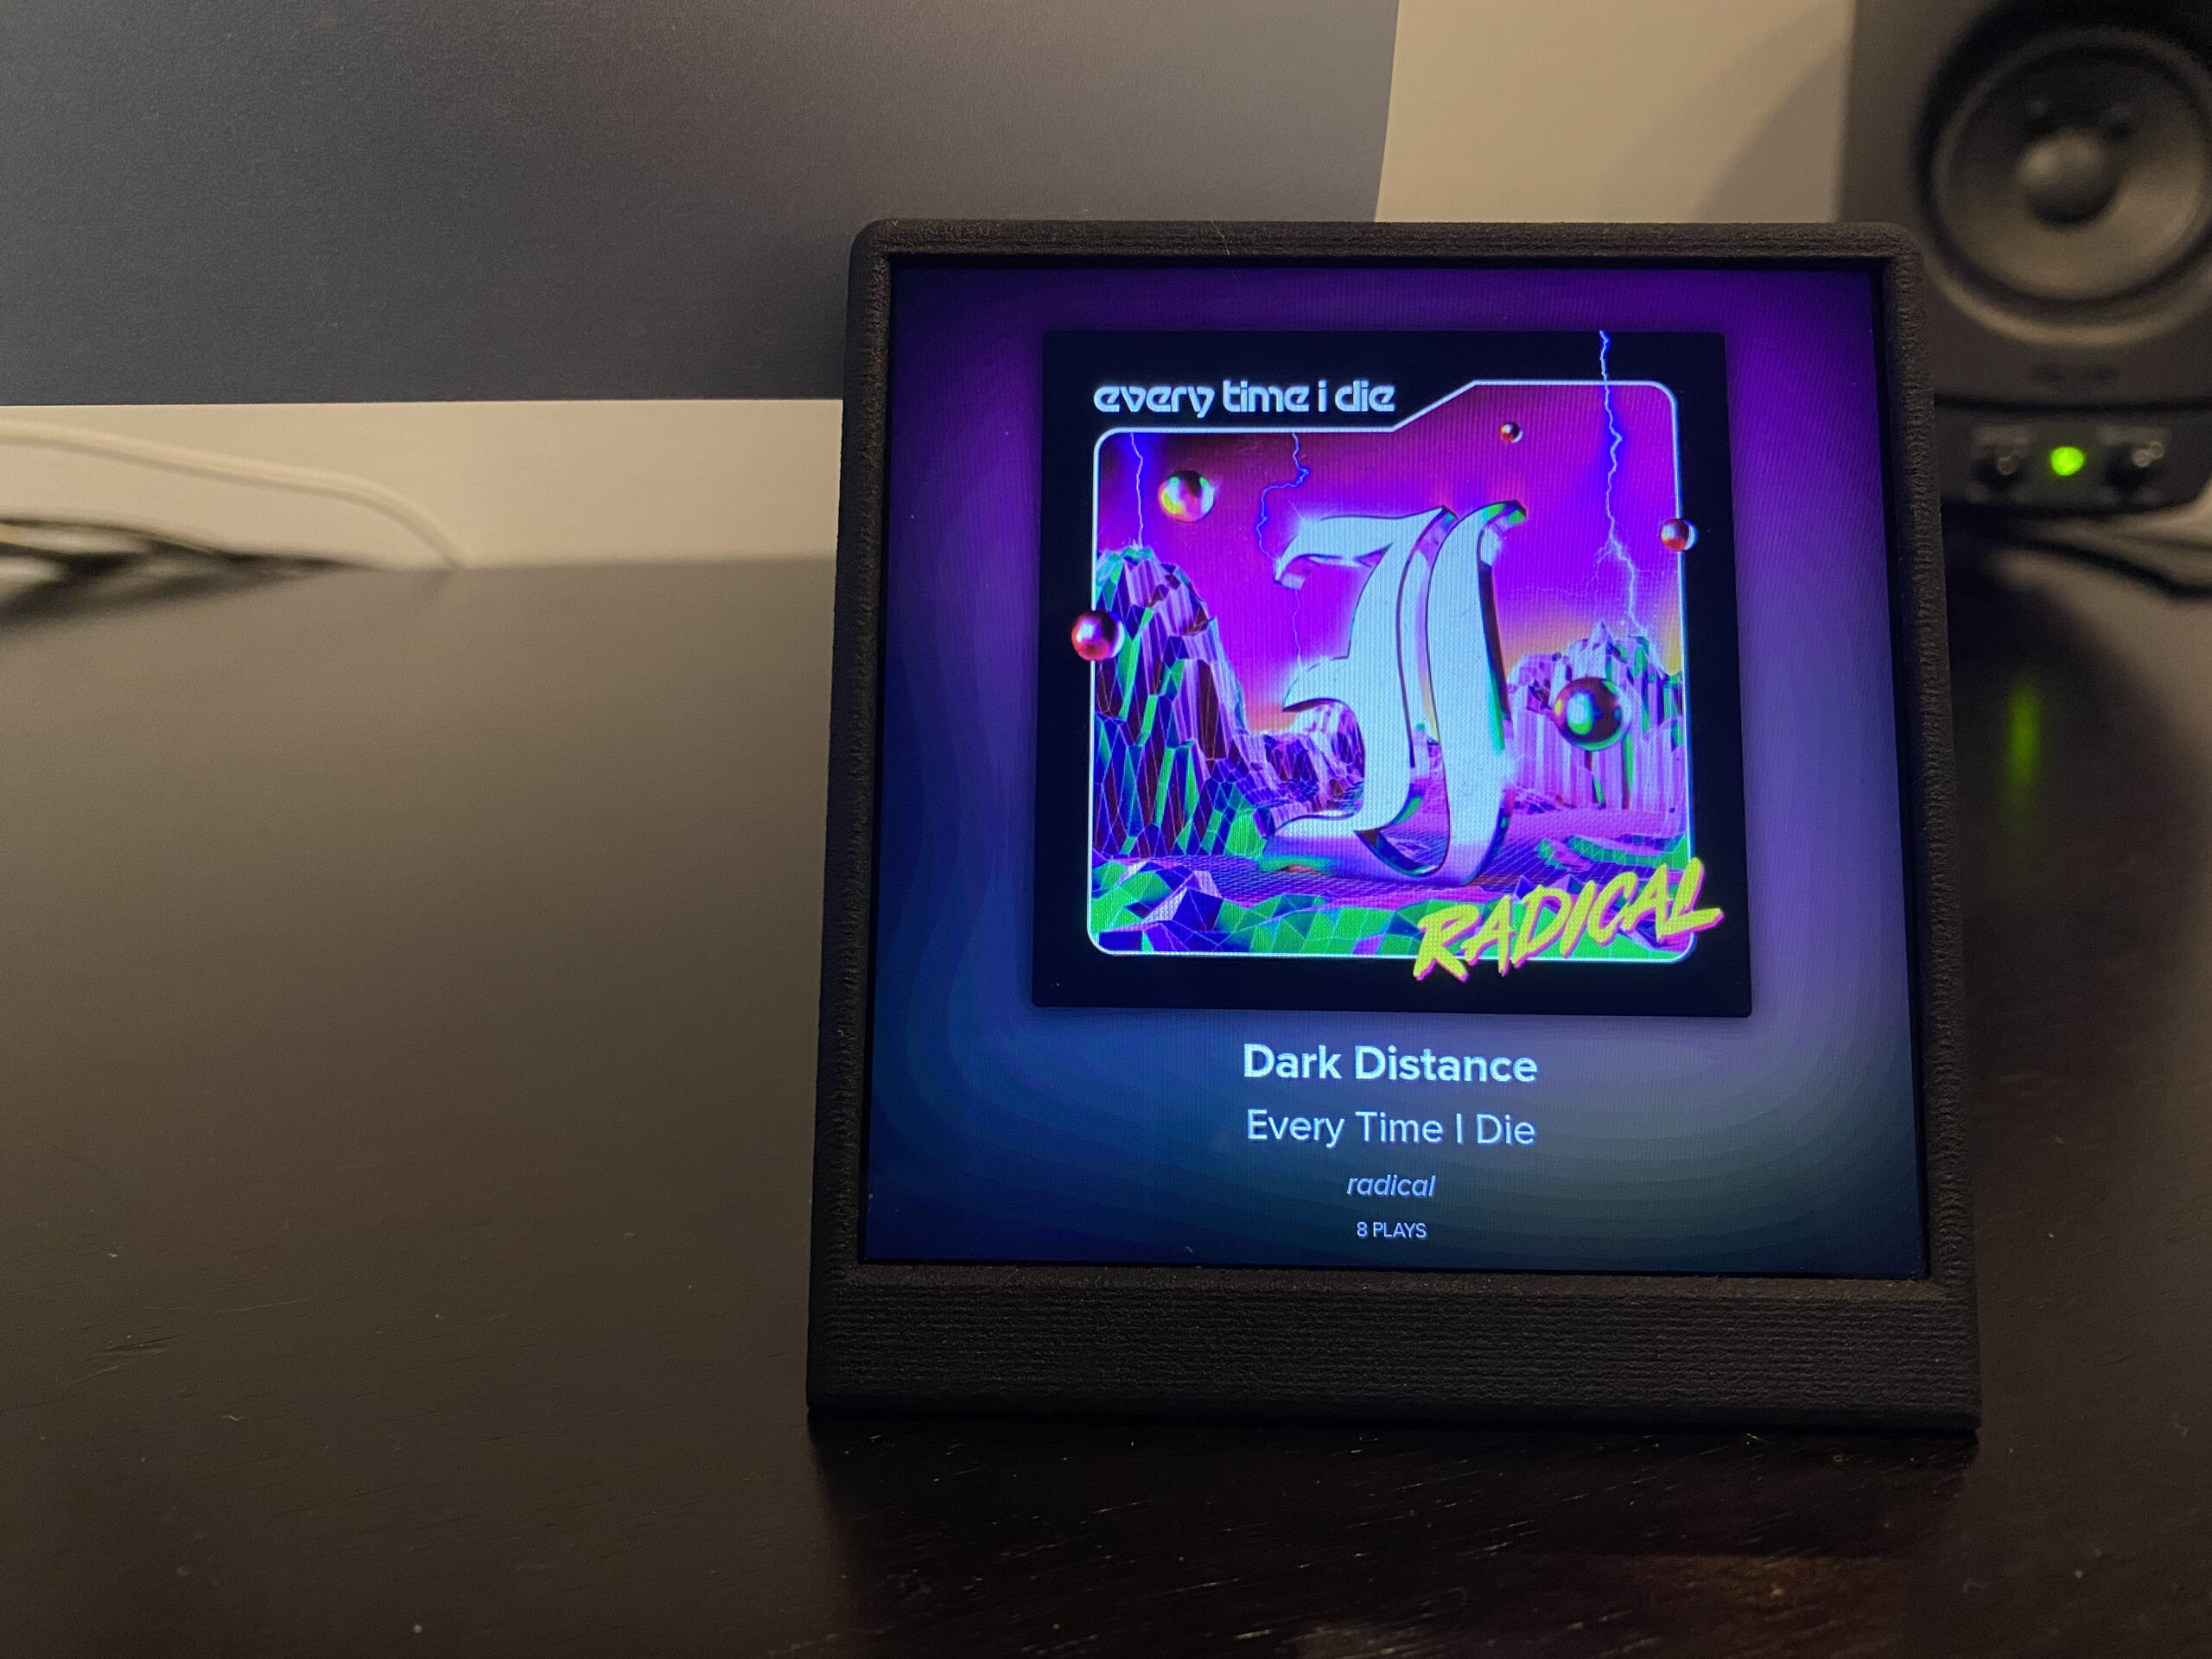
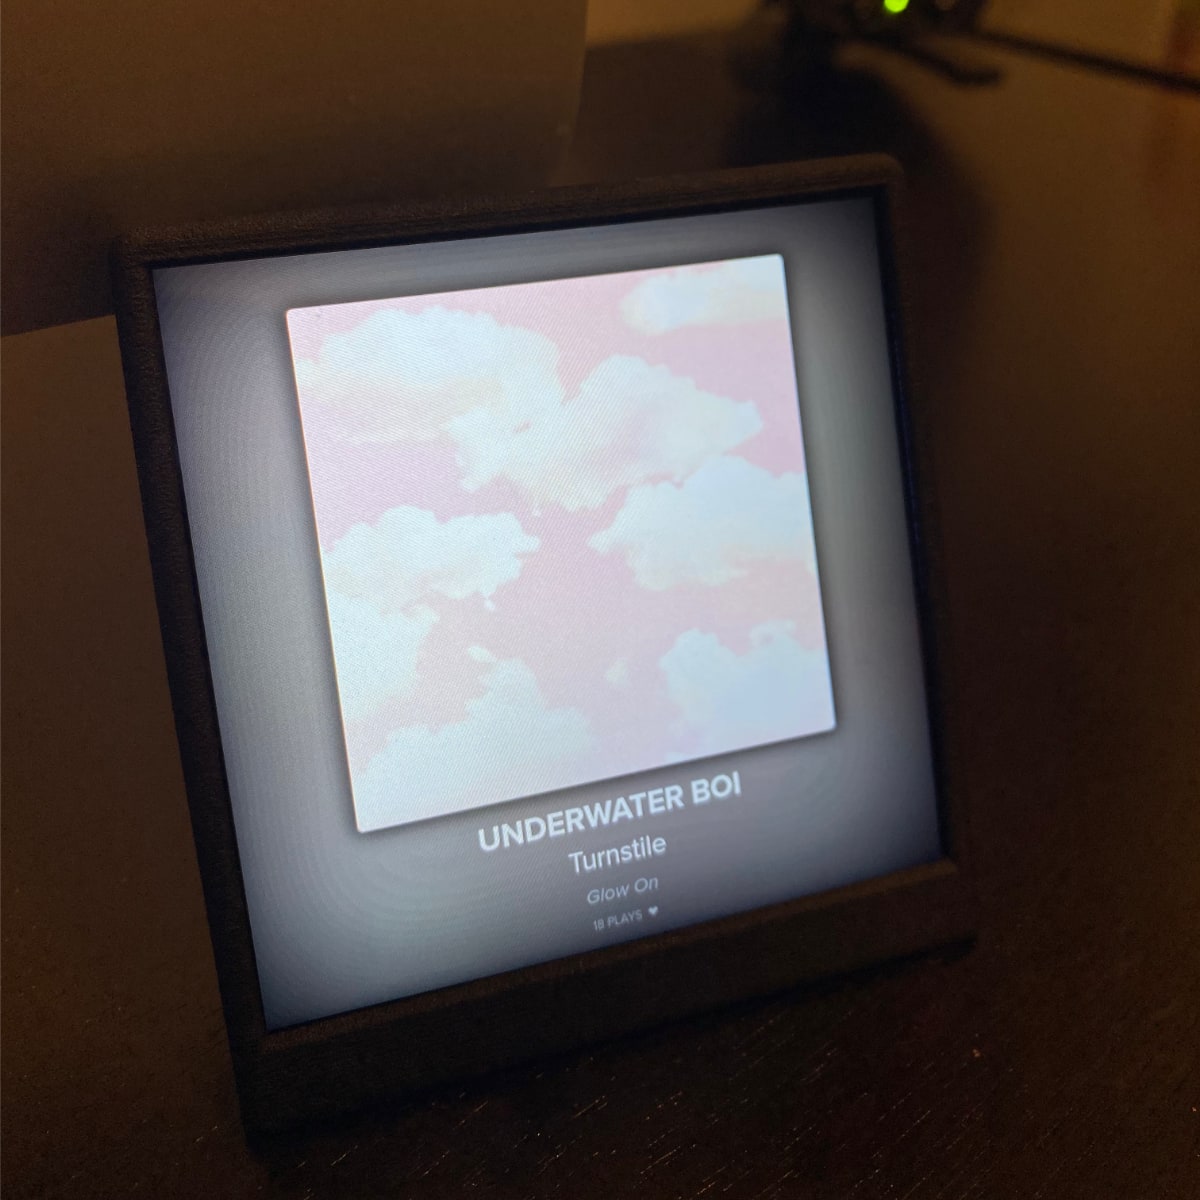
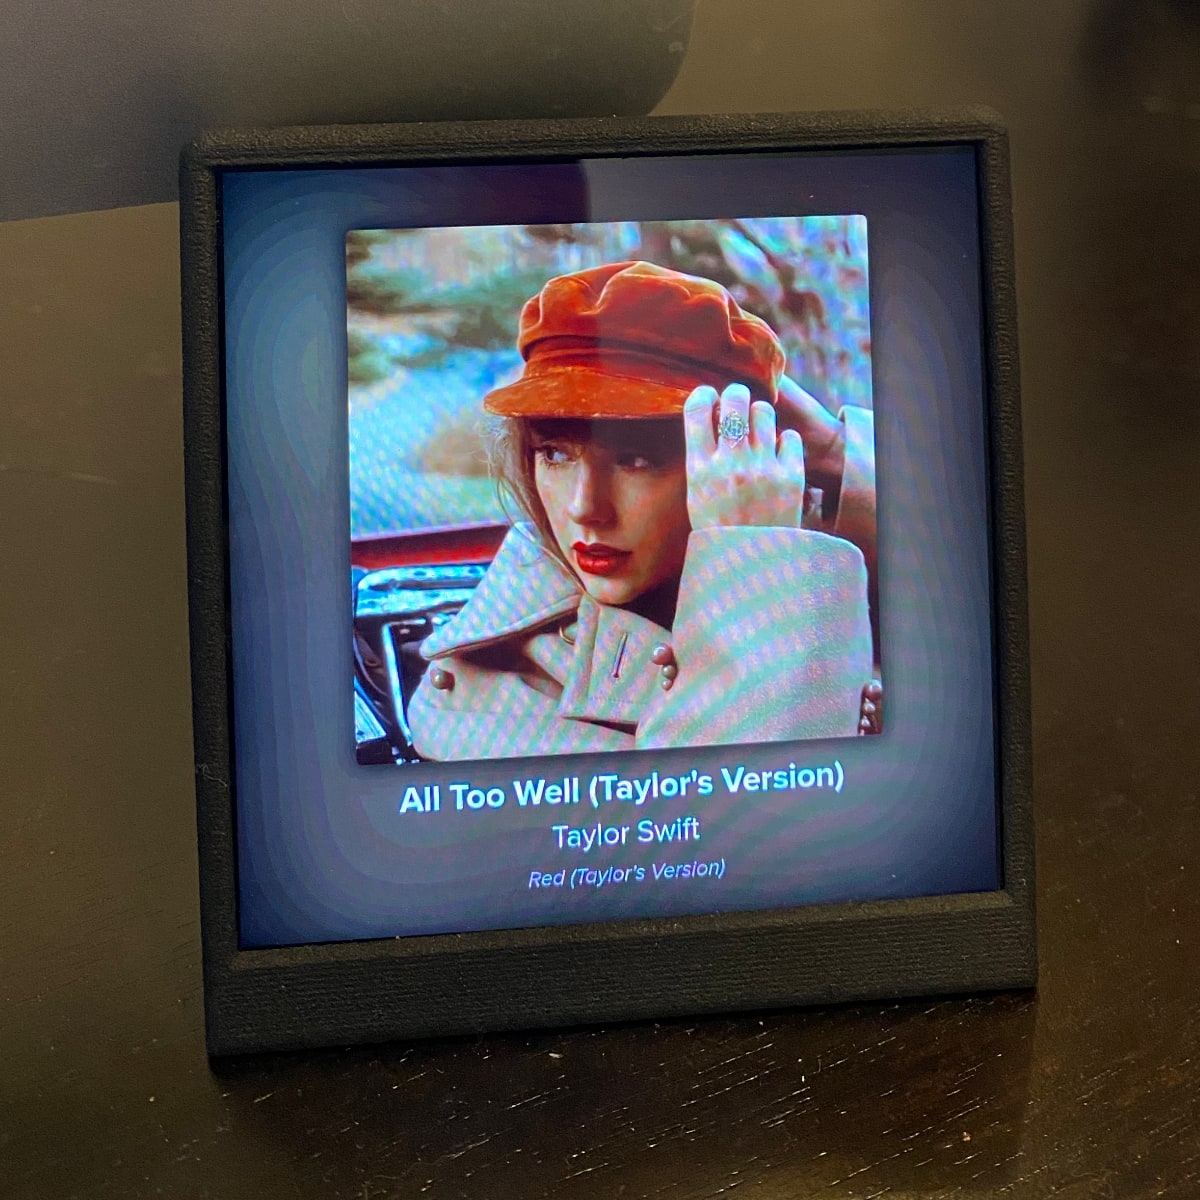
I gave some thought to using the Apple Music API to display what was currently playing, and even saw some cool projects using Sonos and/or Spotify that gave me some inspiration for the backend code. However, I also knew that I wanted to be able to display some historical stats about my listening, as well as design an idle screen for when music wasn’t playing. And, it turns out, as I’ve written about in my newsletter over the past few months, I’ve been spending a lot of time recently re-organizing my Last.fm account. Last.fm’s API is quite old, but it does do exactly what I need it to. At the core, I want to see what I’m currently listening to, display the song title, artist name, album name, and show me how many times I’ve played the song. And, as a bonus, I wanted to add a little heart if I had “loved” the song. Then, when music wasn’t playing, I wanted to show the total number of songs I have listened to, the last song played, and a little grid of my most played albums over the past week.
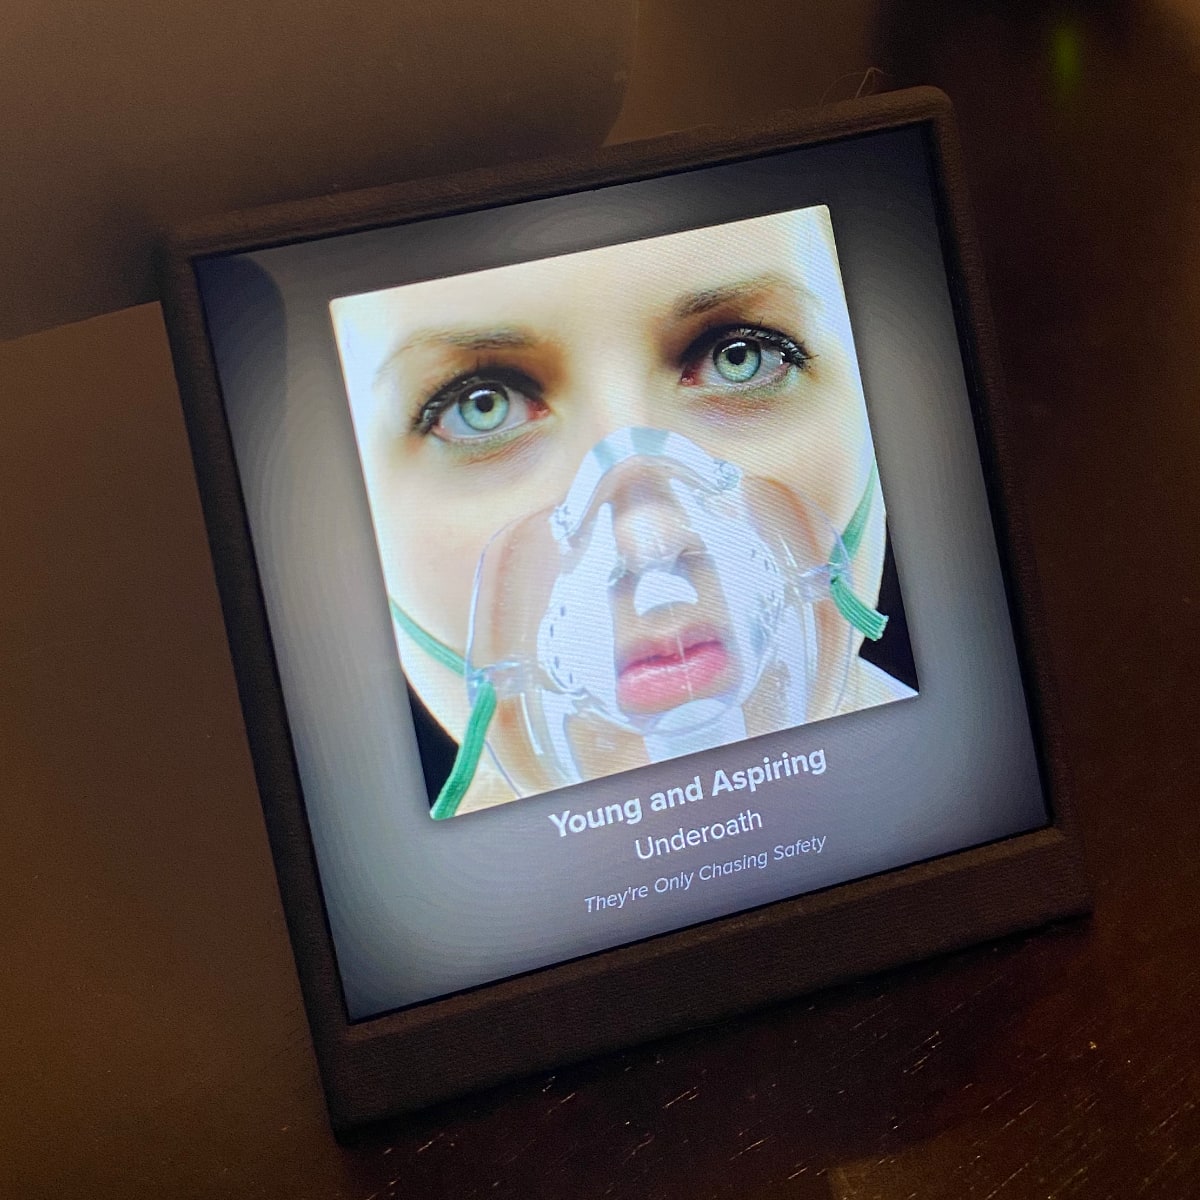
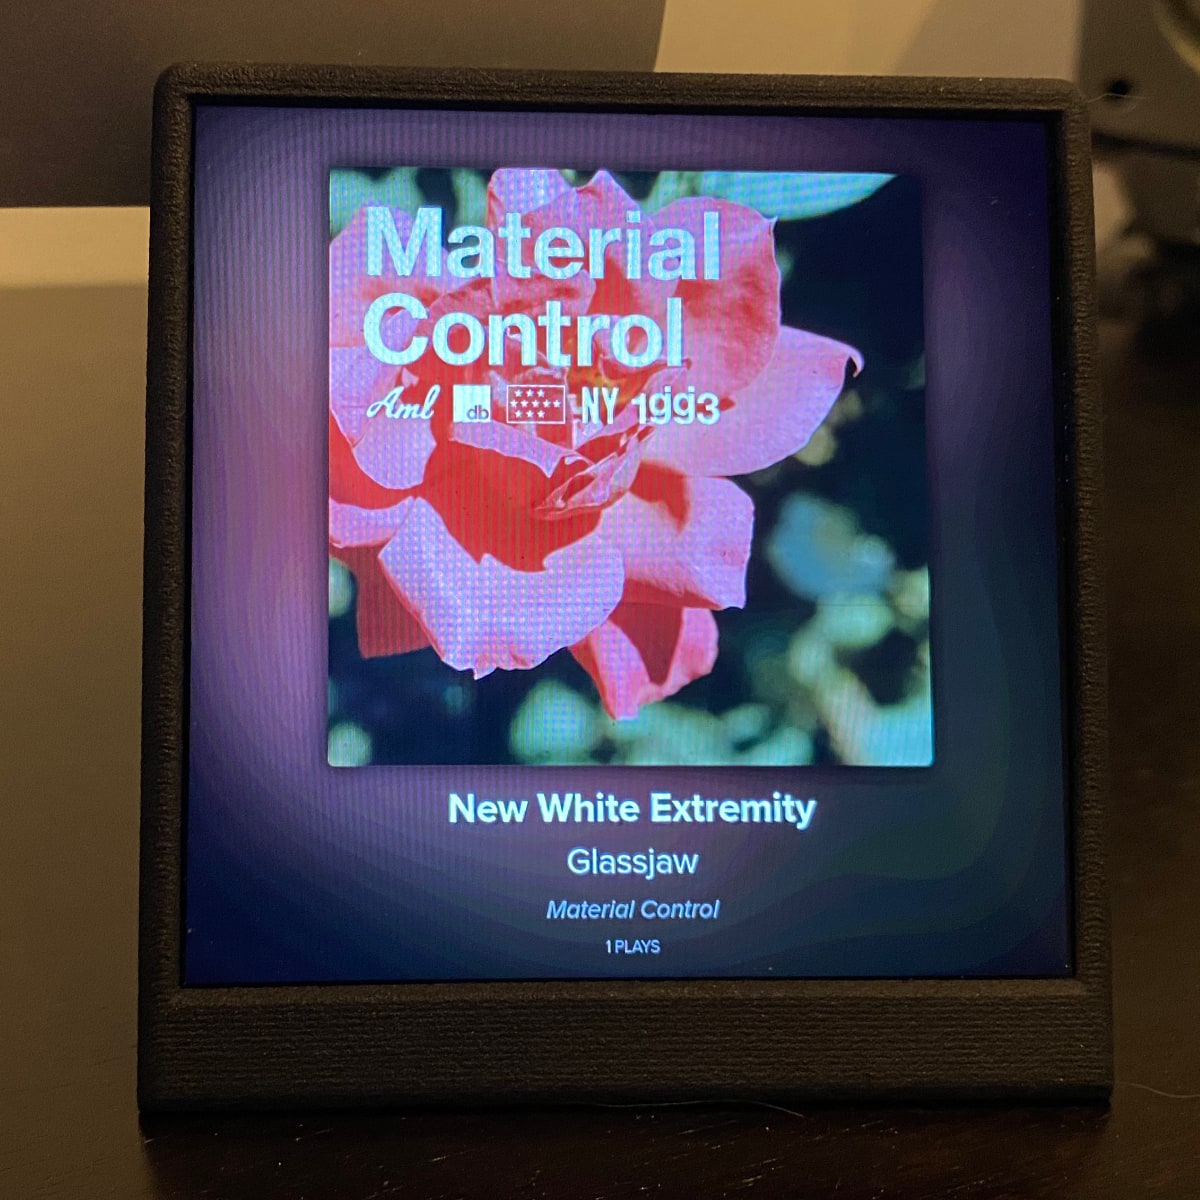
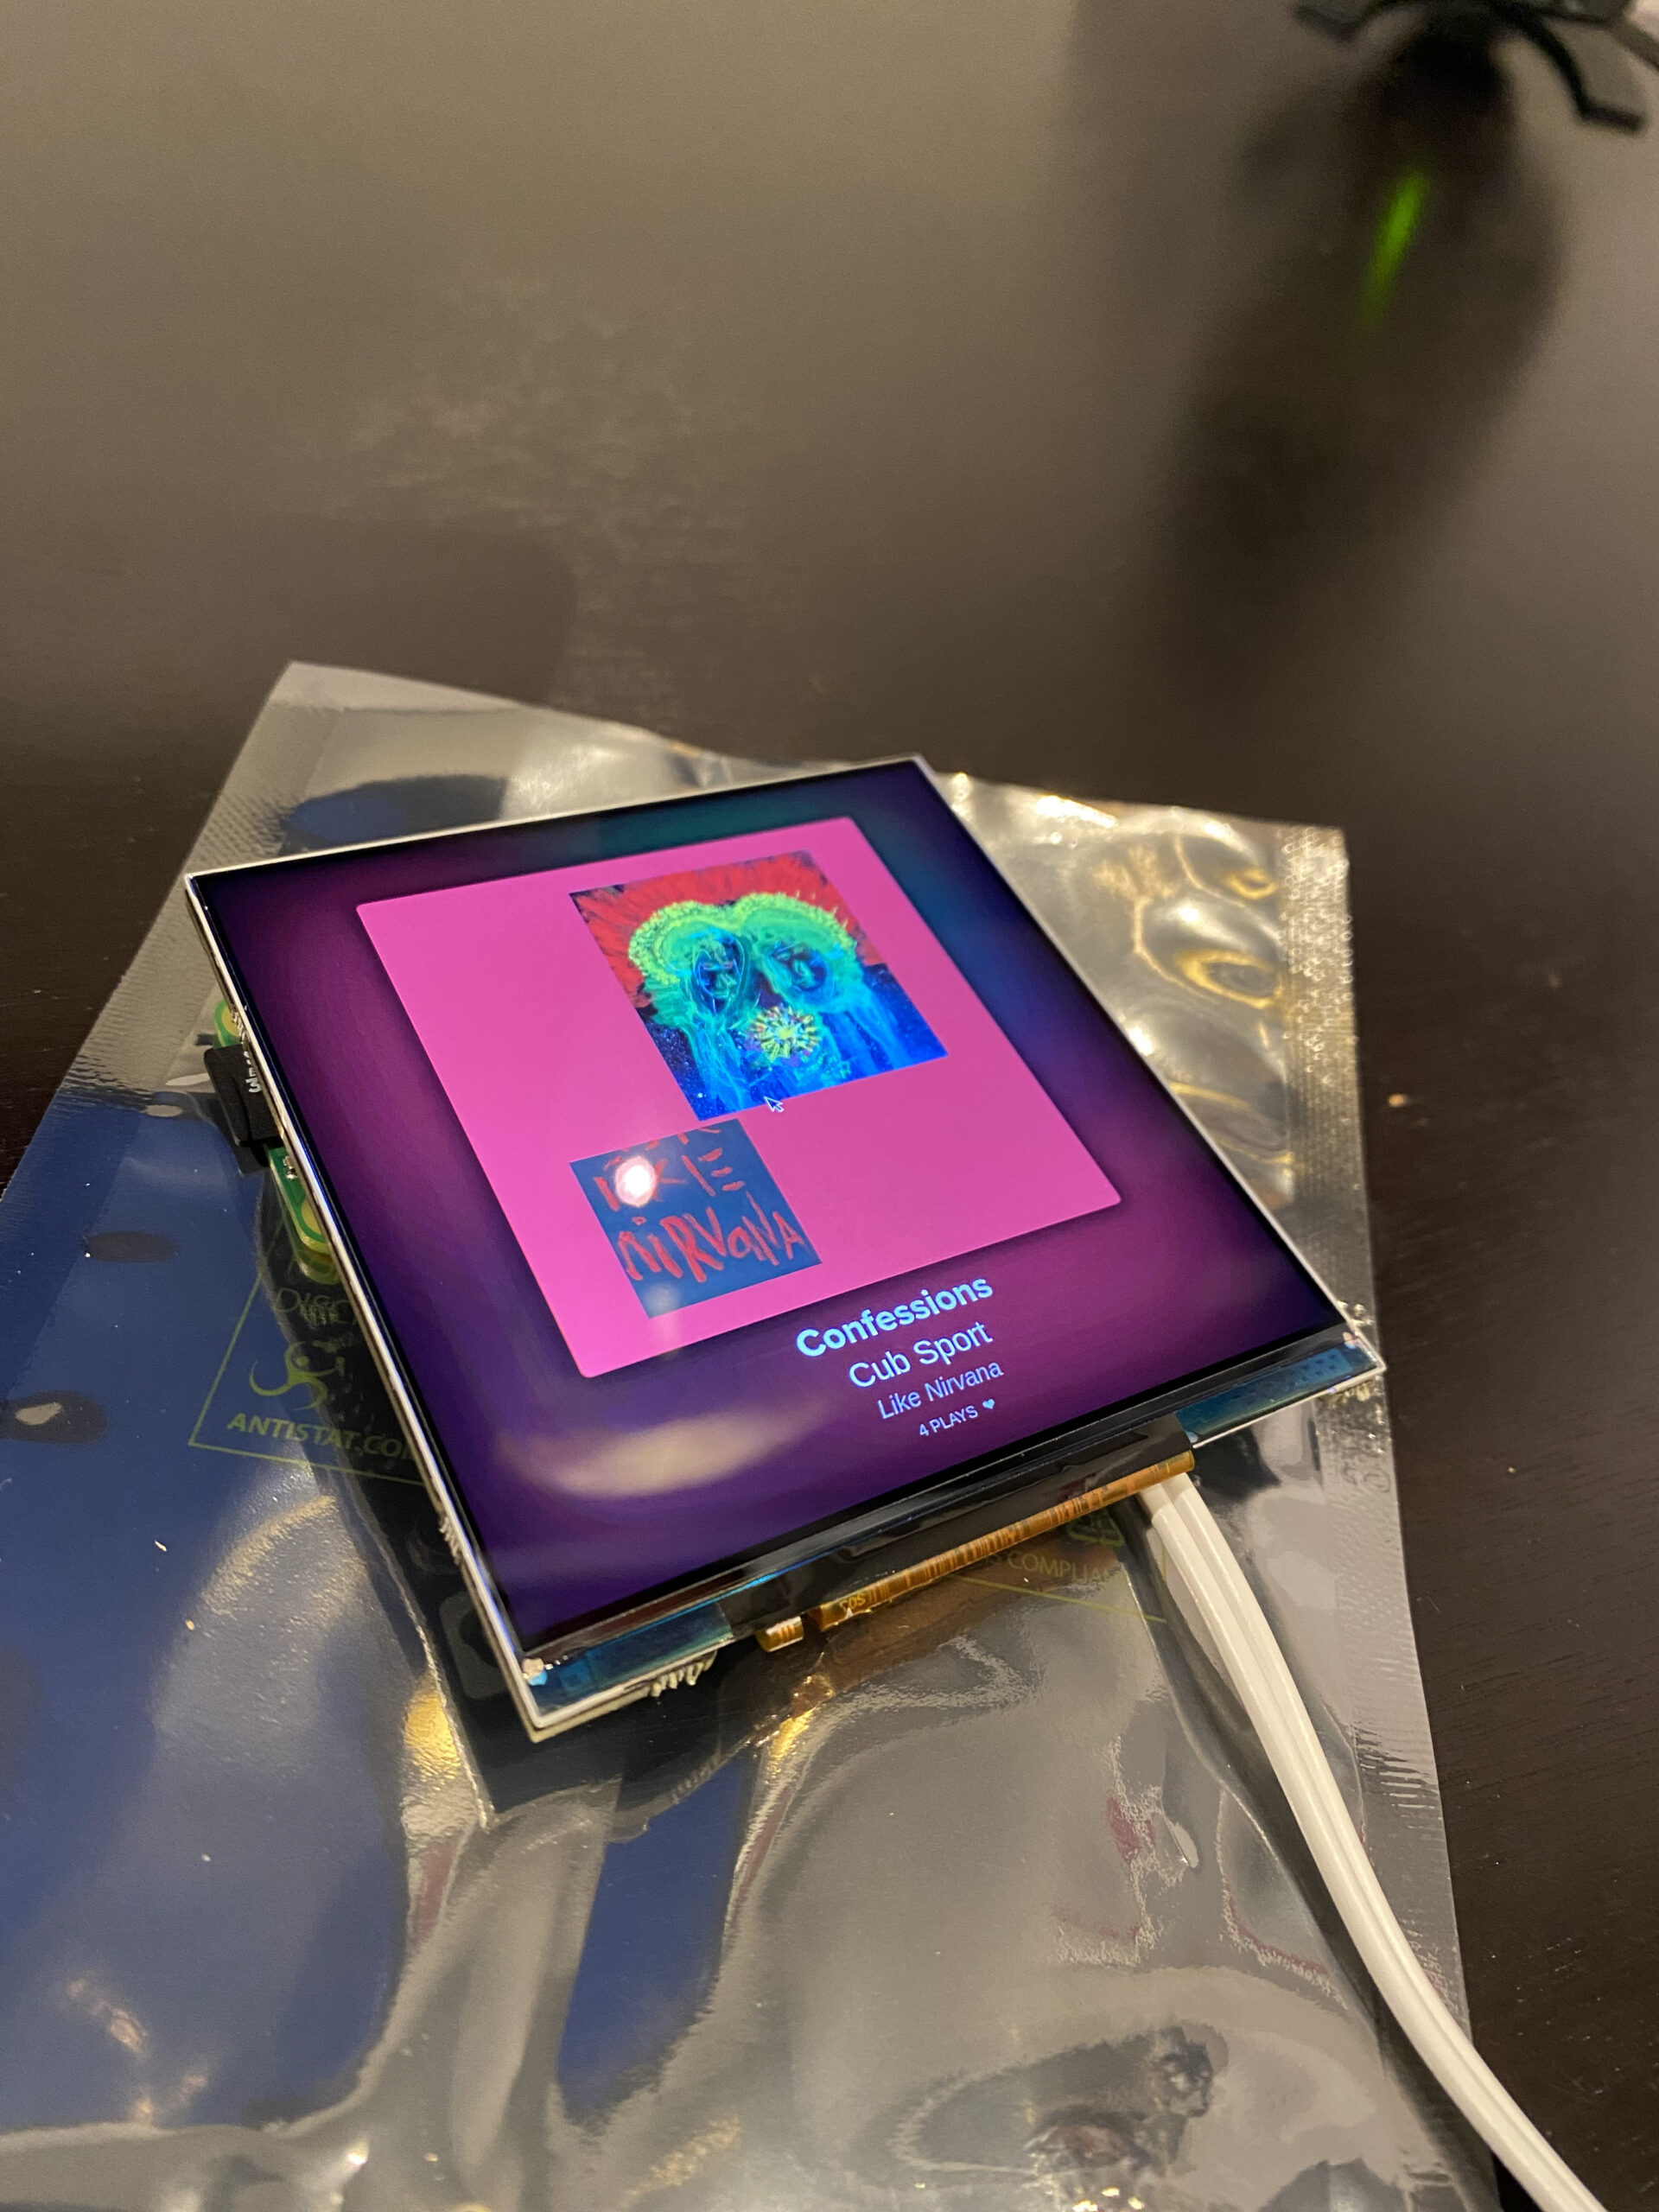
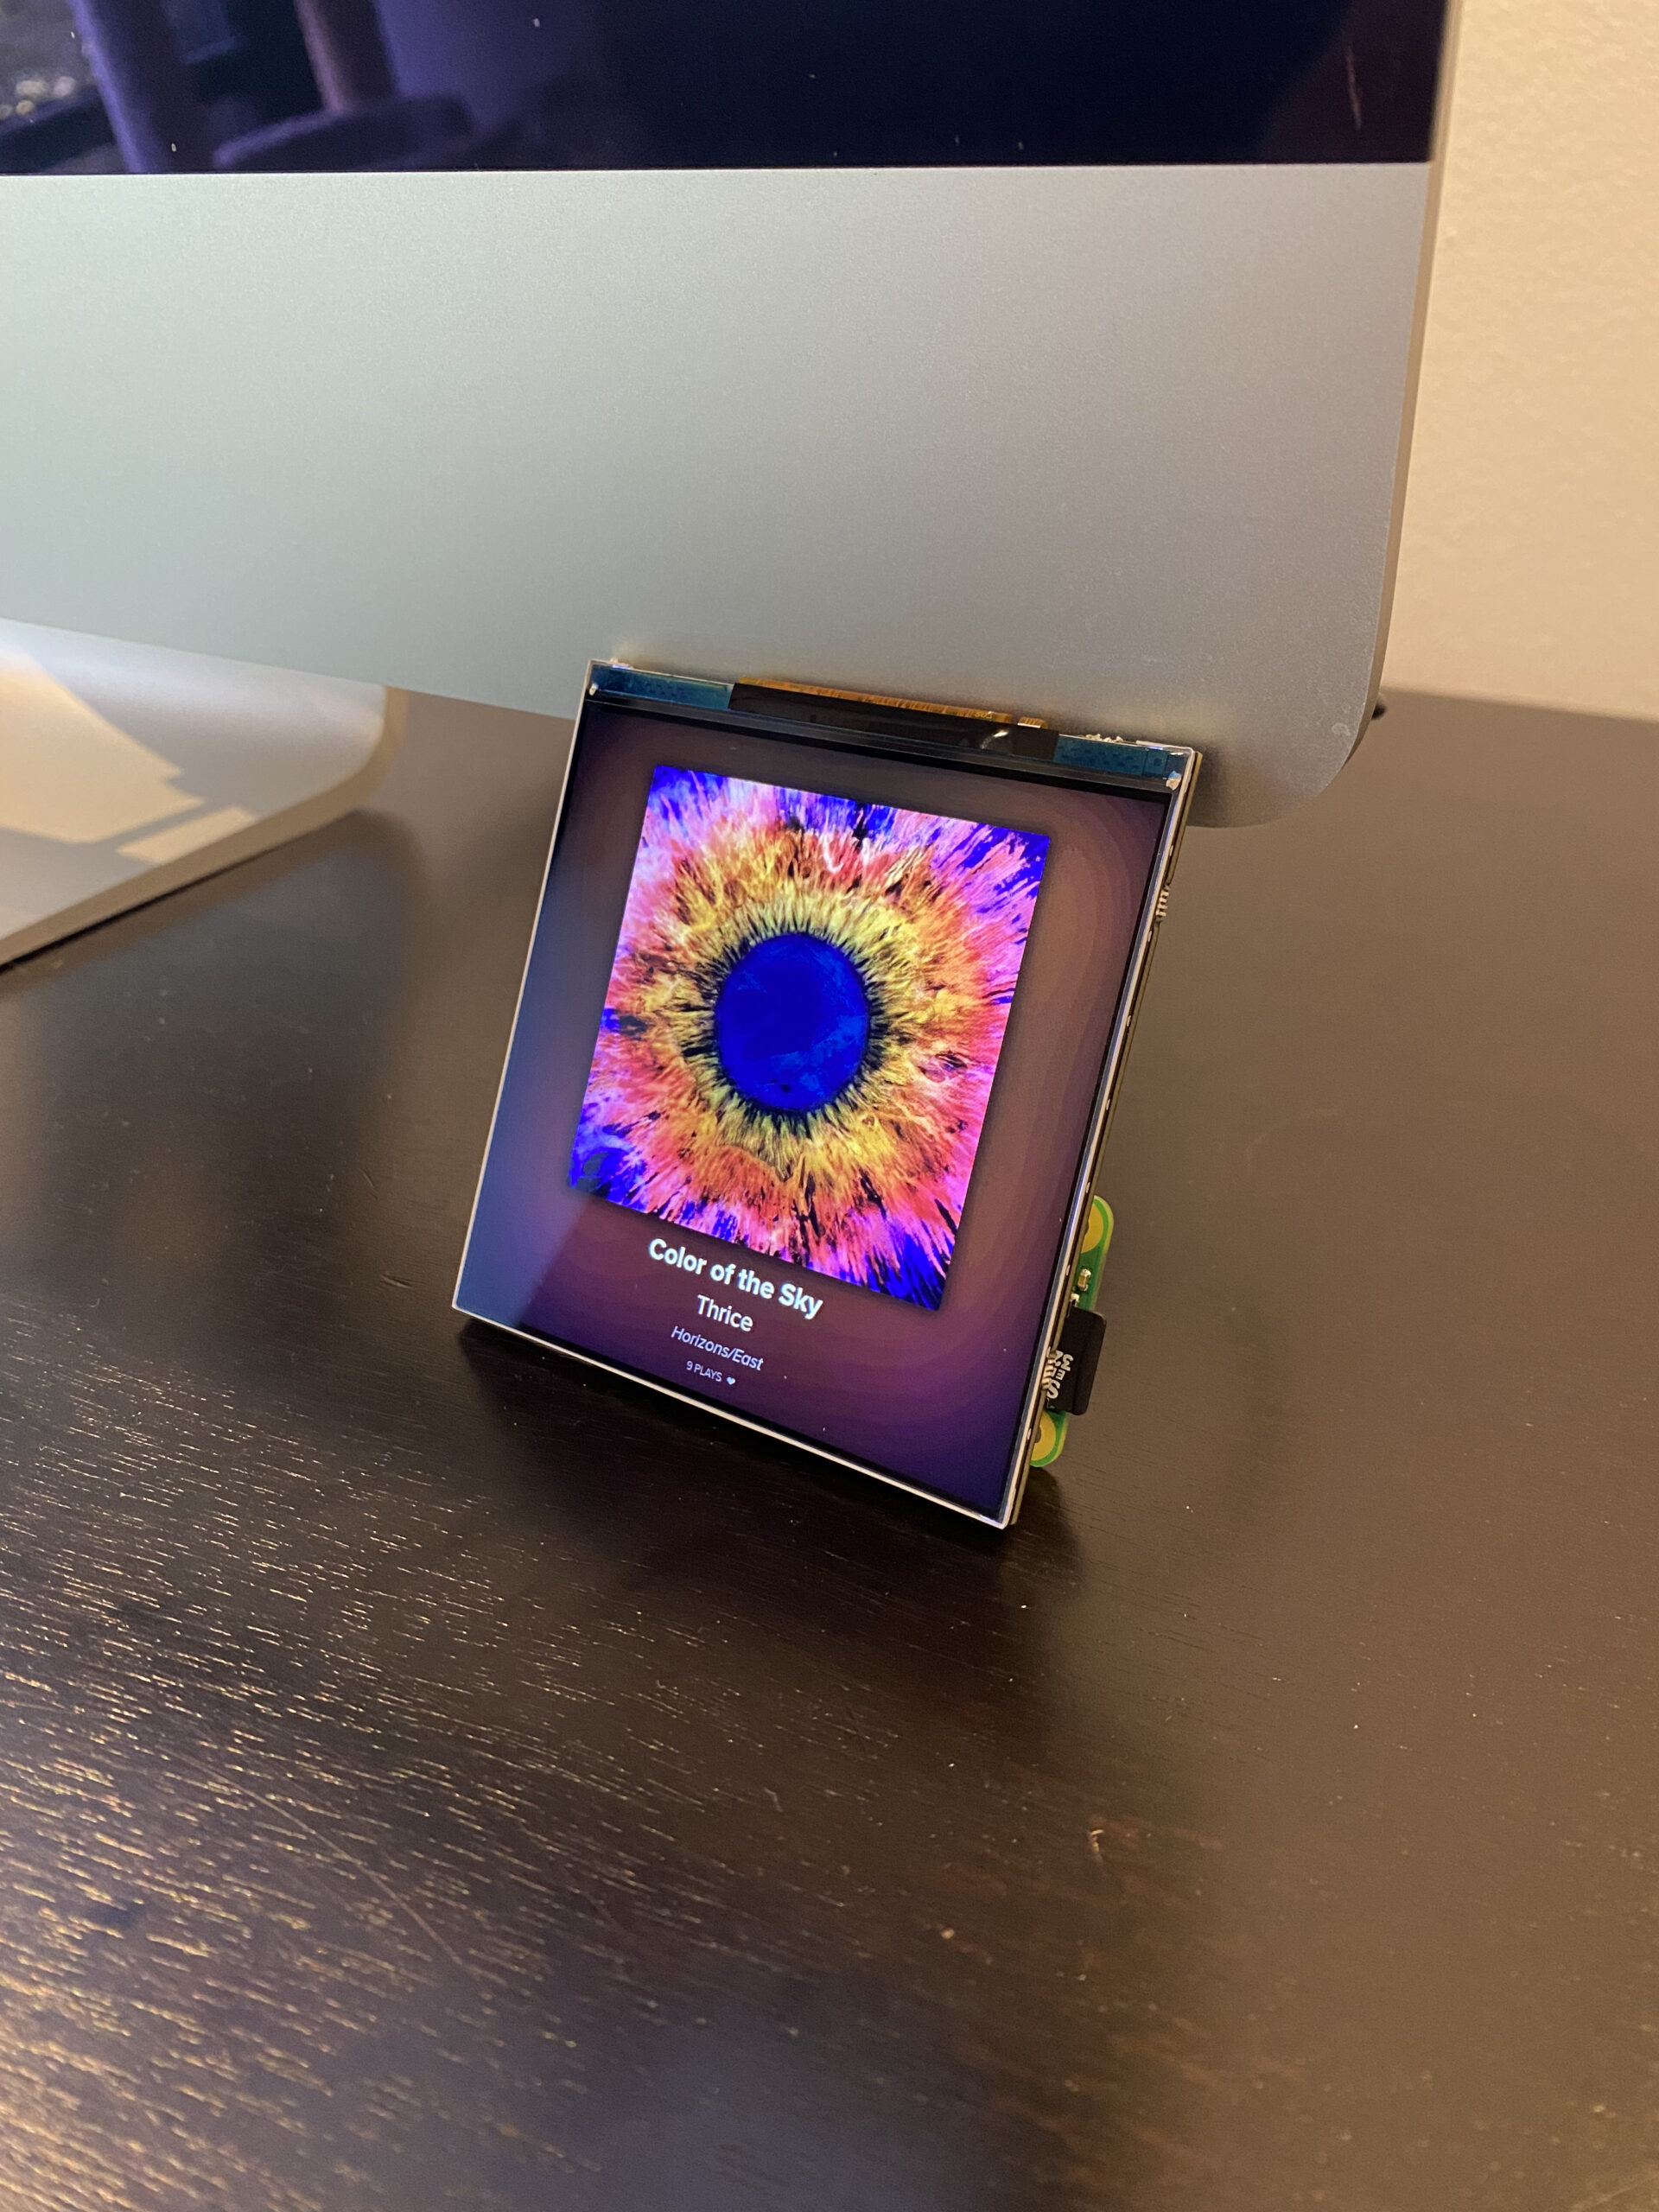
For the now playing screen, I went with a look inspired by Marvis’s now playing screen on iOS. I used the same typography as I use on Chorus, but I really wanted the artwork itself to be what dominates. The whole point is to show off the artwork. I like the dull blurred artwork as the background to the whole screen, since it lets the album itself take over the whole screen and the color of the artwork bleed all the way to edge.


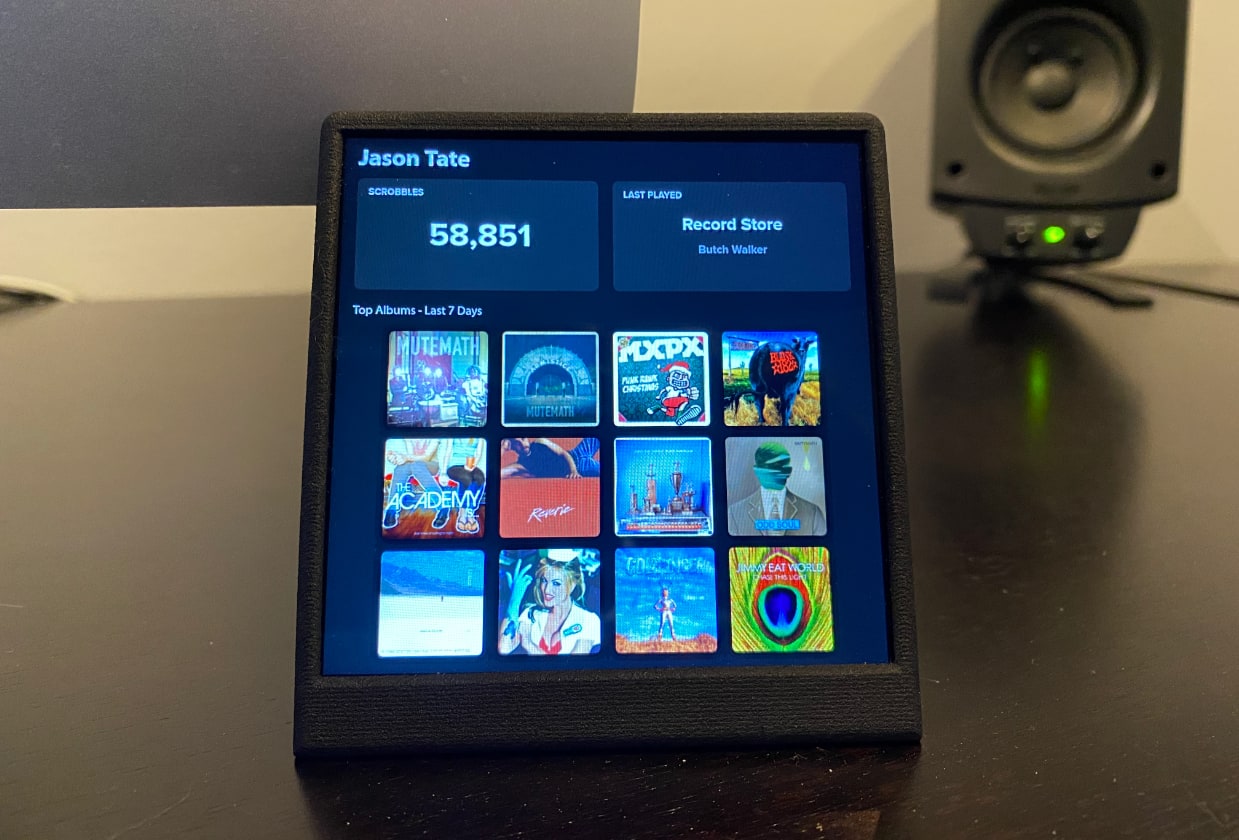
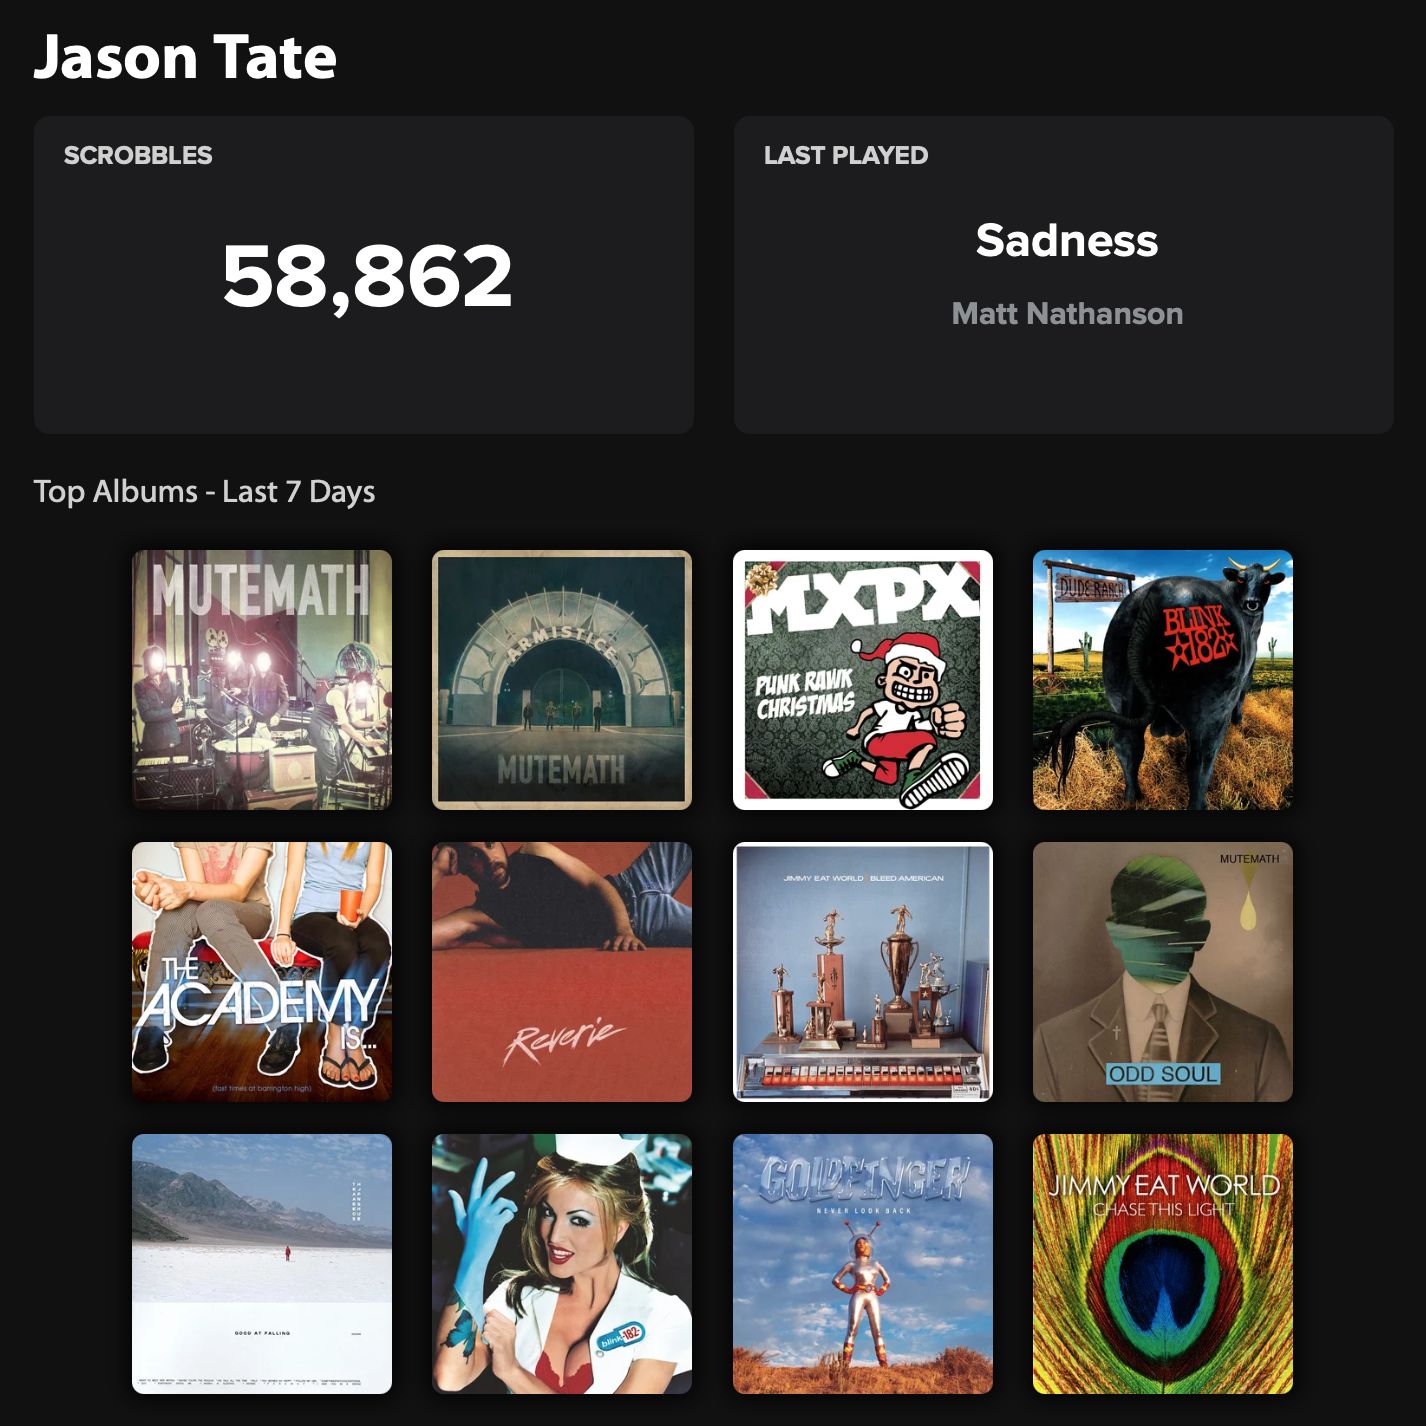
For the idle screen, I used the same color scheme that I use on my iPhone home screen (one that’s very similar to the Chorus dark mode theme). And the design itself, well, if you’re visiting this website I'm sure you'll recognize that it's just a very “me” kind of design. I am who I am.
The code itself is pretty straight forward. There isn’t a way, that I know of, for the system to tell my script when a song starts or changes, so instead we’re doing some basic polling. When a song is playing, it checks in with Last.fm every 15 seconds. If the playing song is the same, it does nothing. If the song changes, it refreshes the page. Simple. When in idle mode it’s doing the same thing, but with a longer duration between each check.
I’ve put the code on Github and did my best to comment throughout. I wrote it over a weekend modifying another project and adding in a few tweaks. I’m sure there’s better and more modern ways to do this. But, I went with what I know. I didn’t want to mess with any extra libraries, so it’s all generic Javascript. The only thing not included on Github are the custom fonts, since those cost money to license. (Proxima Nova and Myriad Pro, if you're curious.)
After uploading the files to my server, all I had to do was point the Pi to the website from the previous step (where it says https://chorus.fm). Reboot. And, tada! It works.
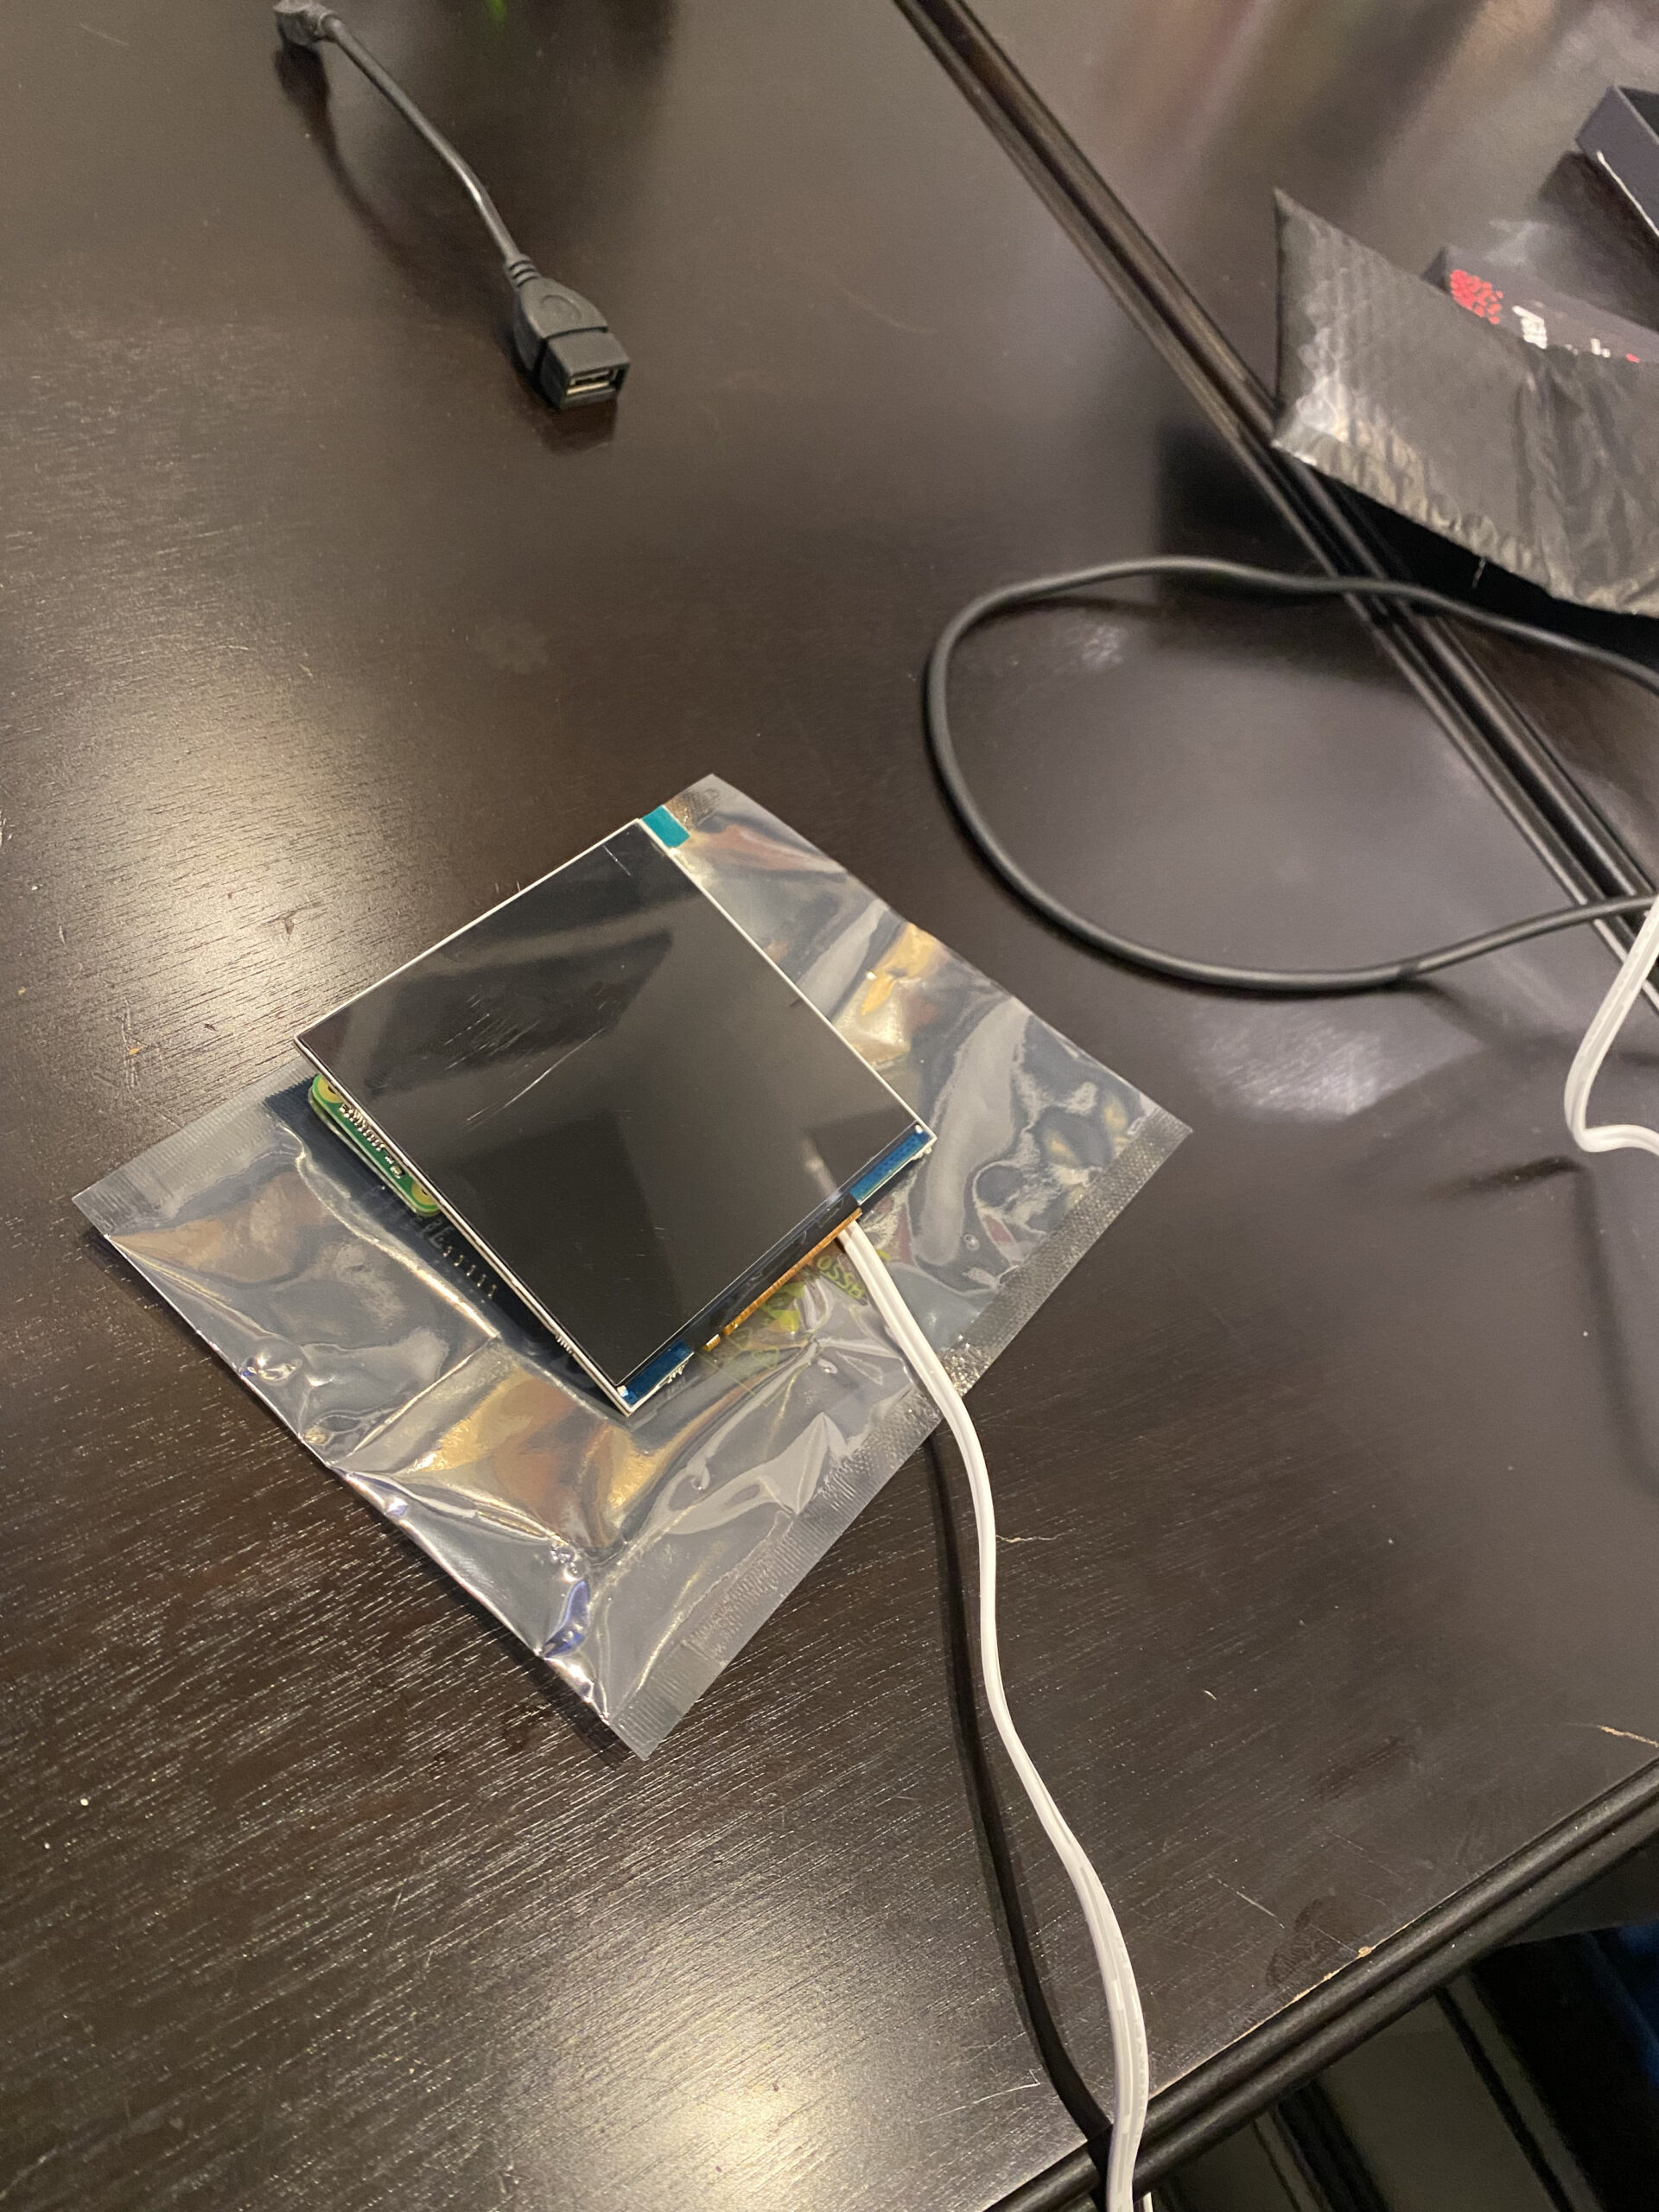
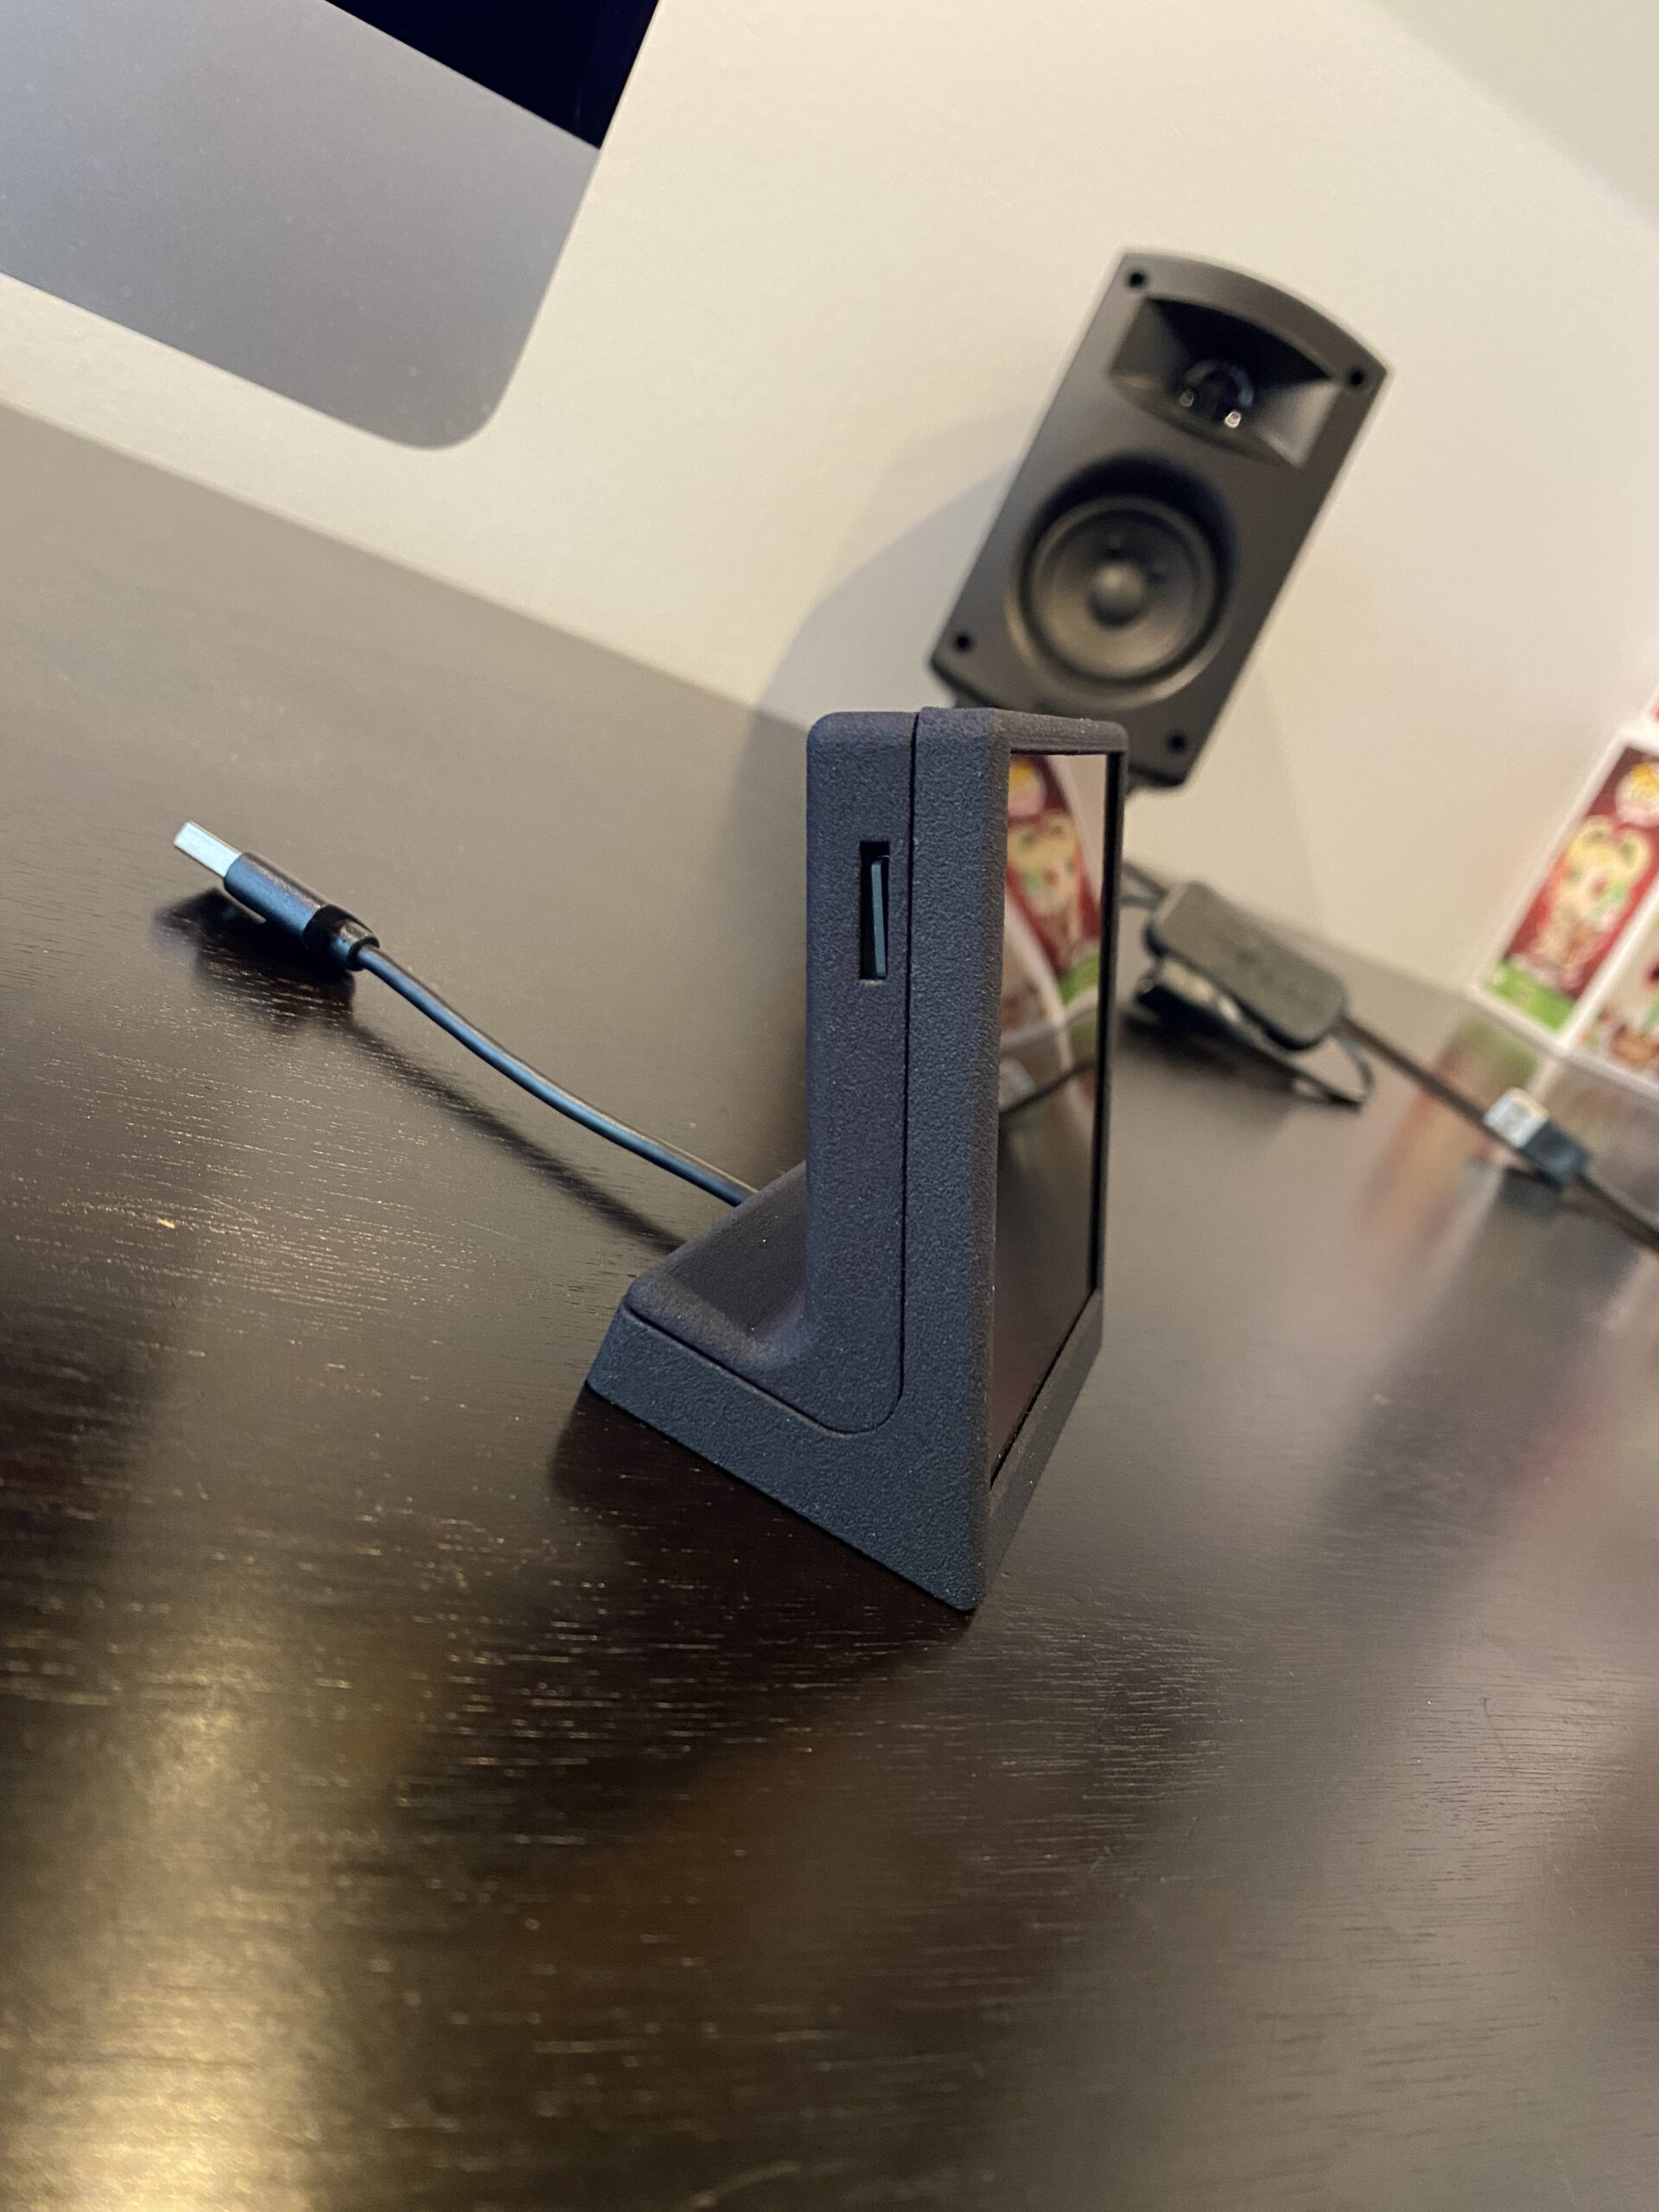
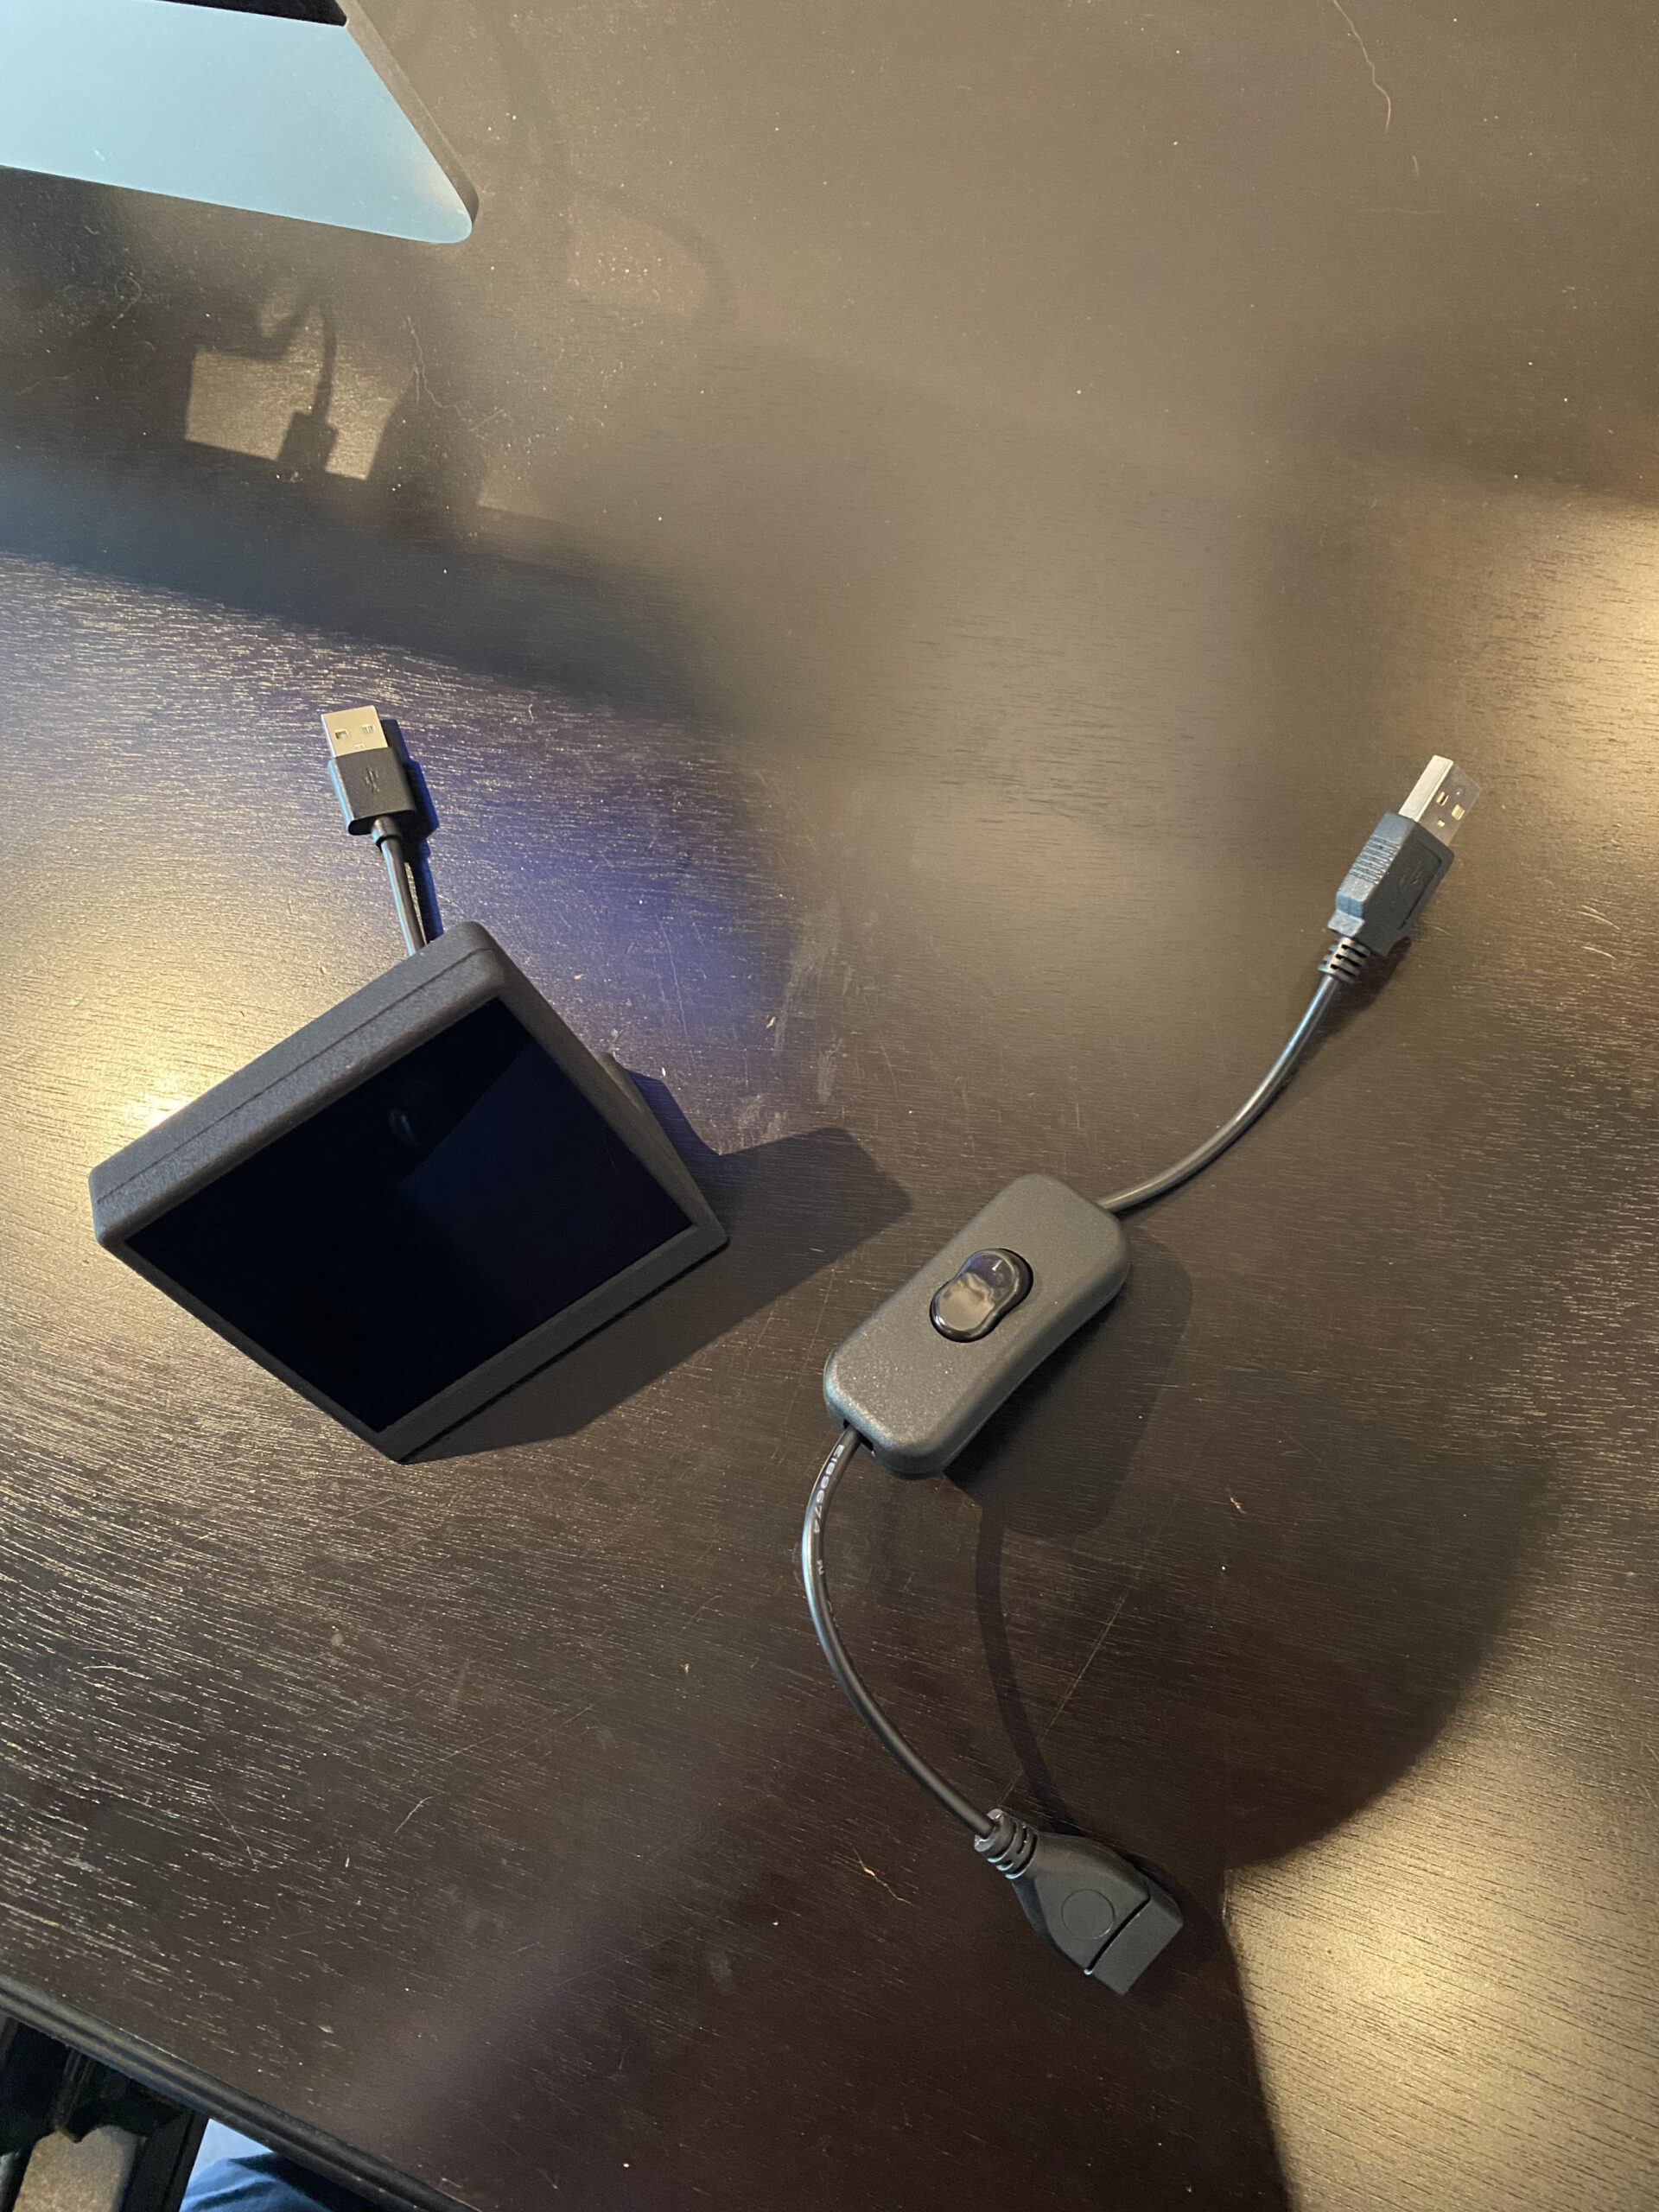
For the finishing touches, I wanted to put the entire apparatus into a case. I wanted something minimal and unassuming. I found this 3D printed one and took a chance. It’s perfect. Photos actually don't do justice to how nice the screen looks in person, it's much sharper with minimal banding. It matches my desk, and everything fit just right. I use a very short micro-USB to USB cable out the back and bought a little USB on/off switch. And, last, I wrote some iOS Shortcuts to control the entire thing. That way I don’t have to SSH into it to reboot it, turn it off, or if something gets stuck force a refresh of the website itself. I’ve detailed those in the bottom section, under "Extras."
Photos
The Extras
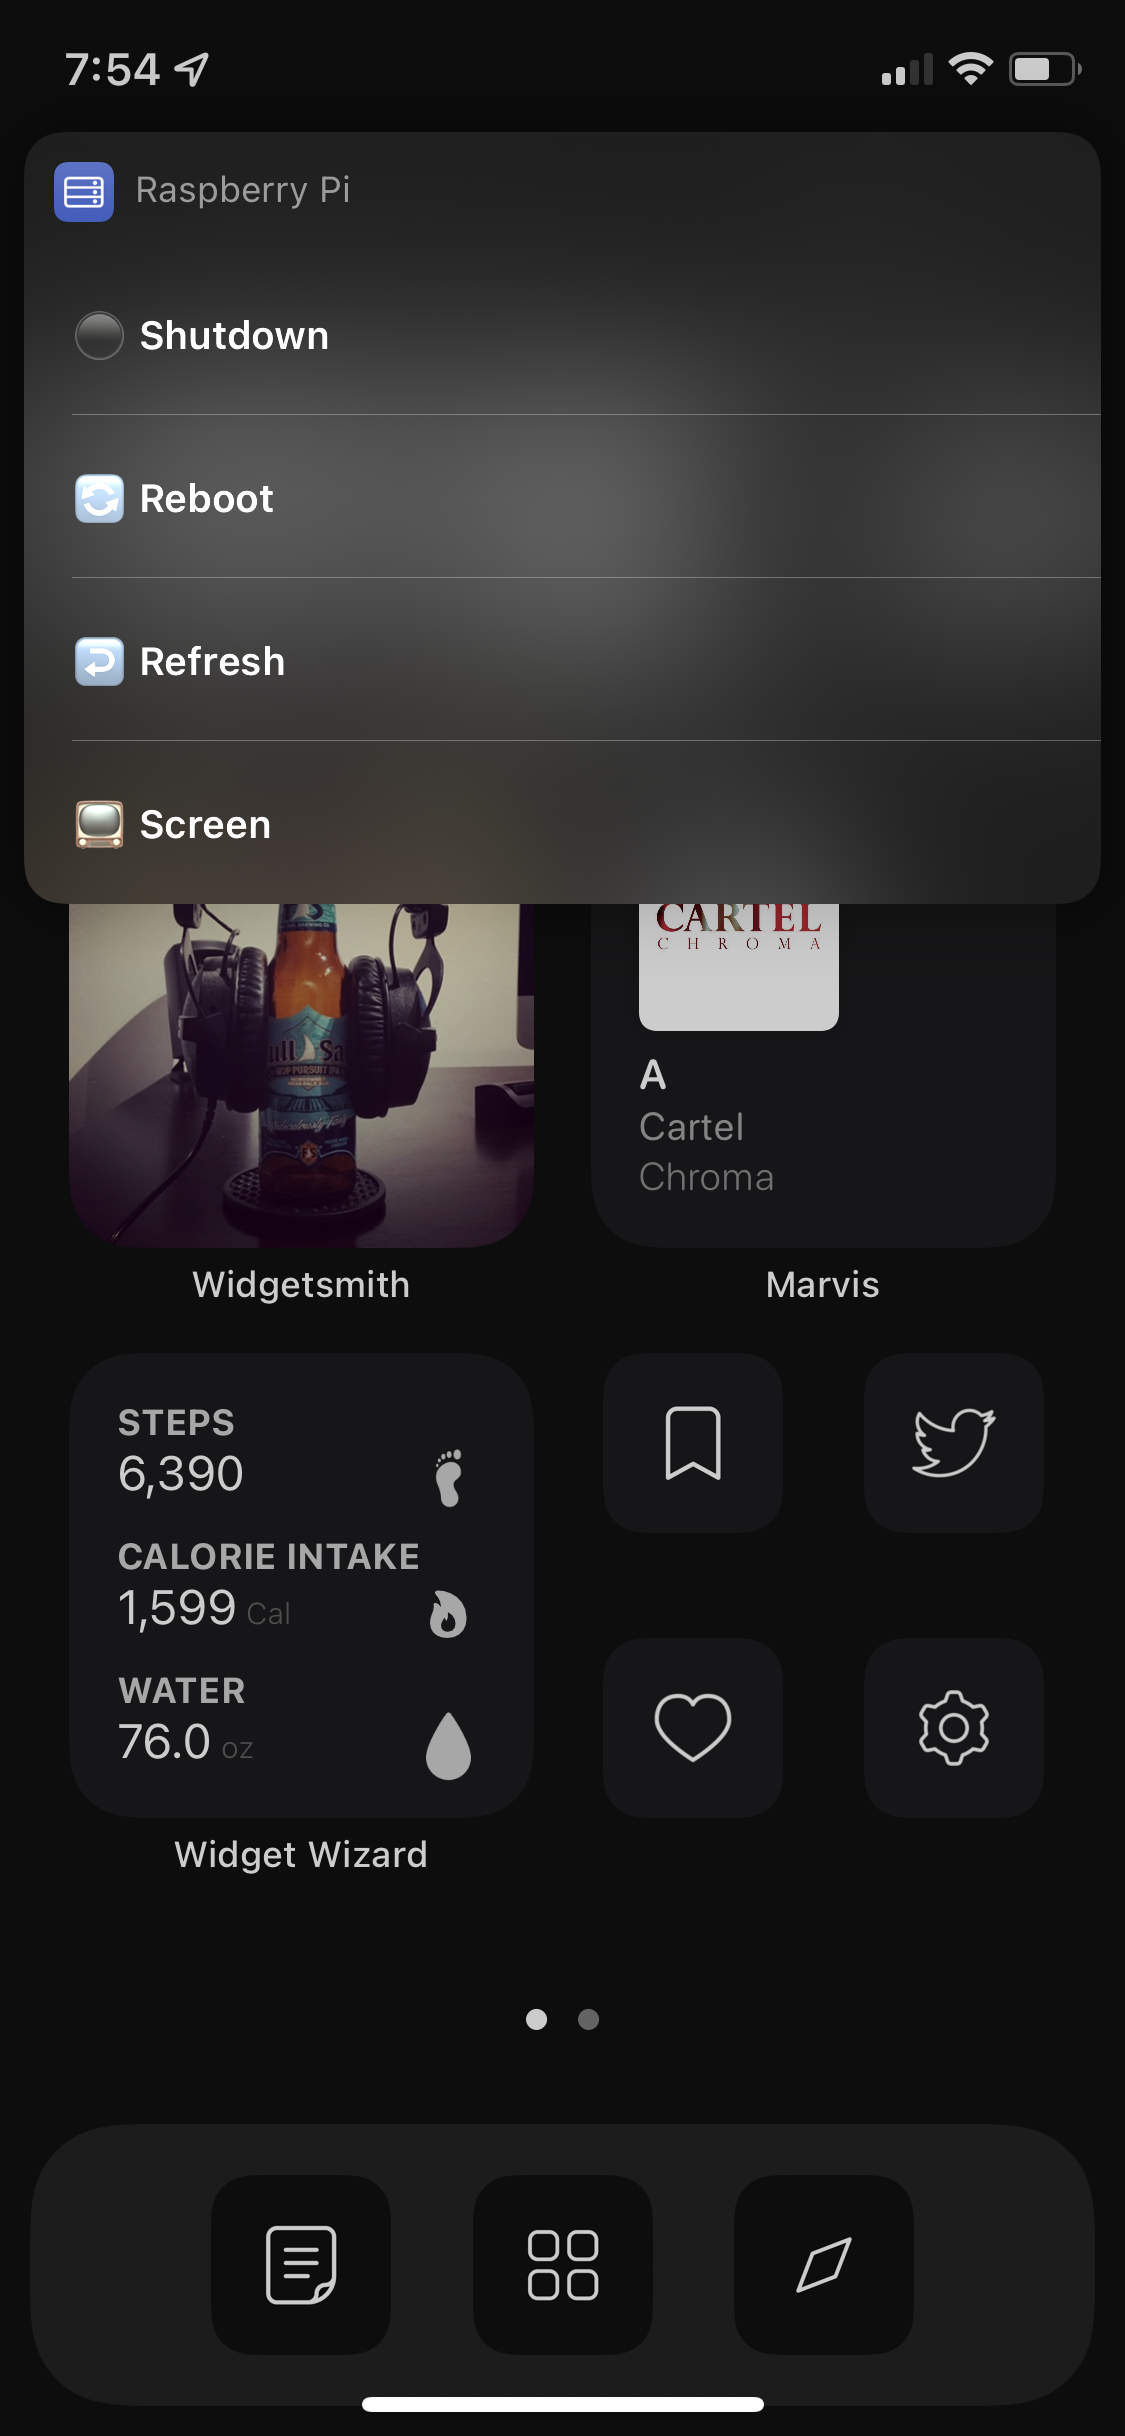
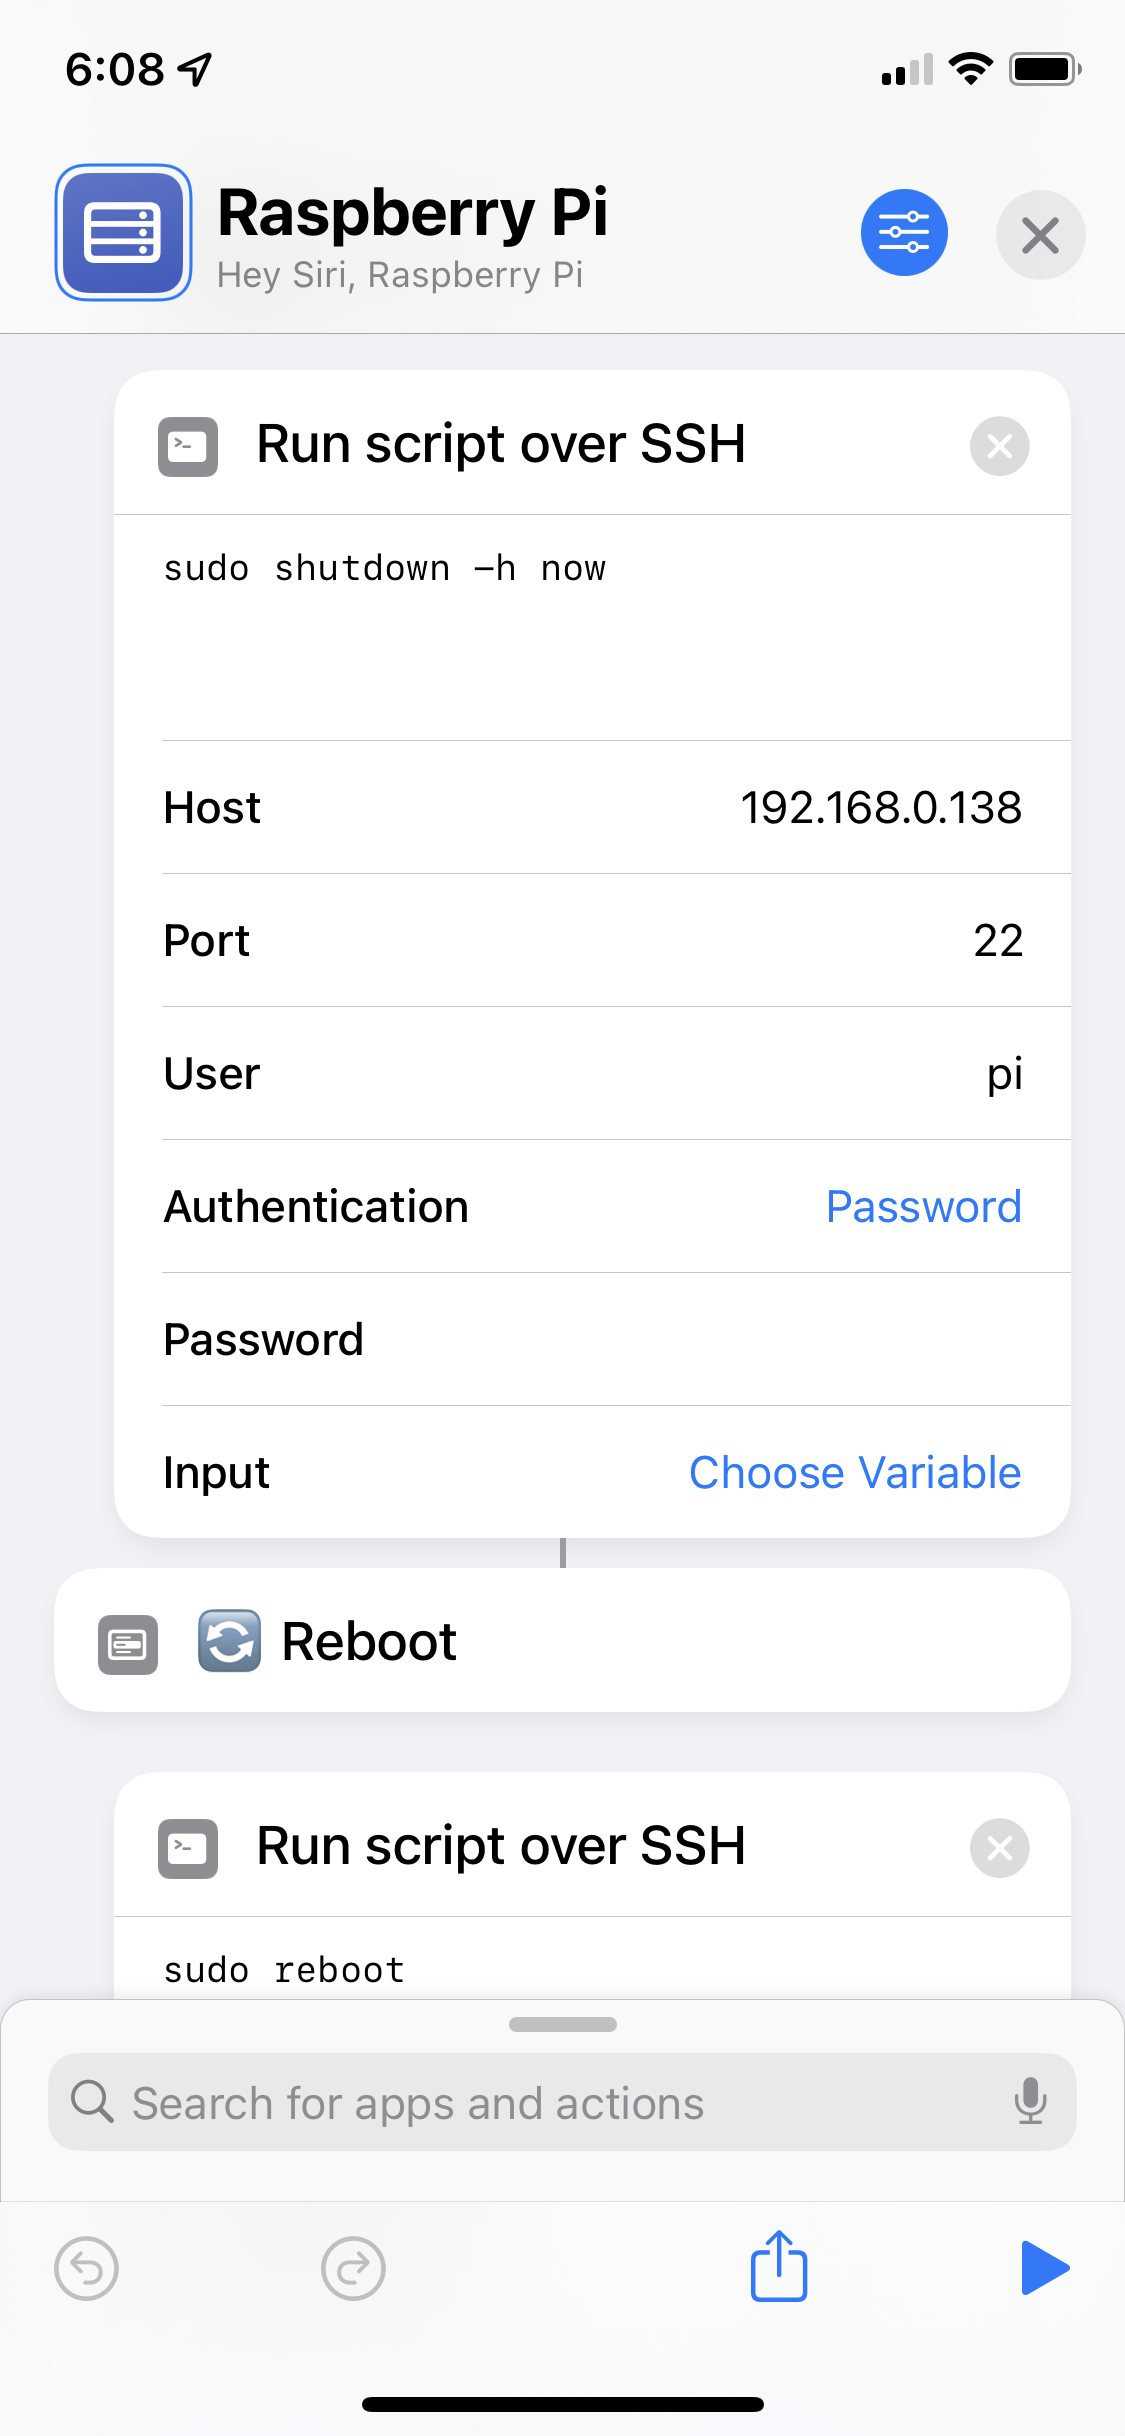
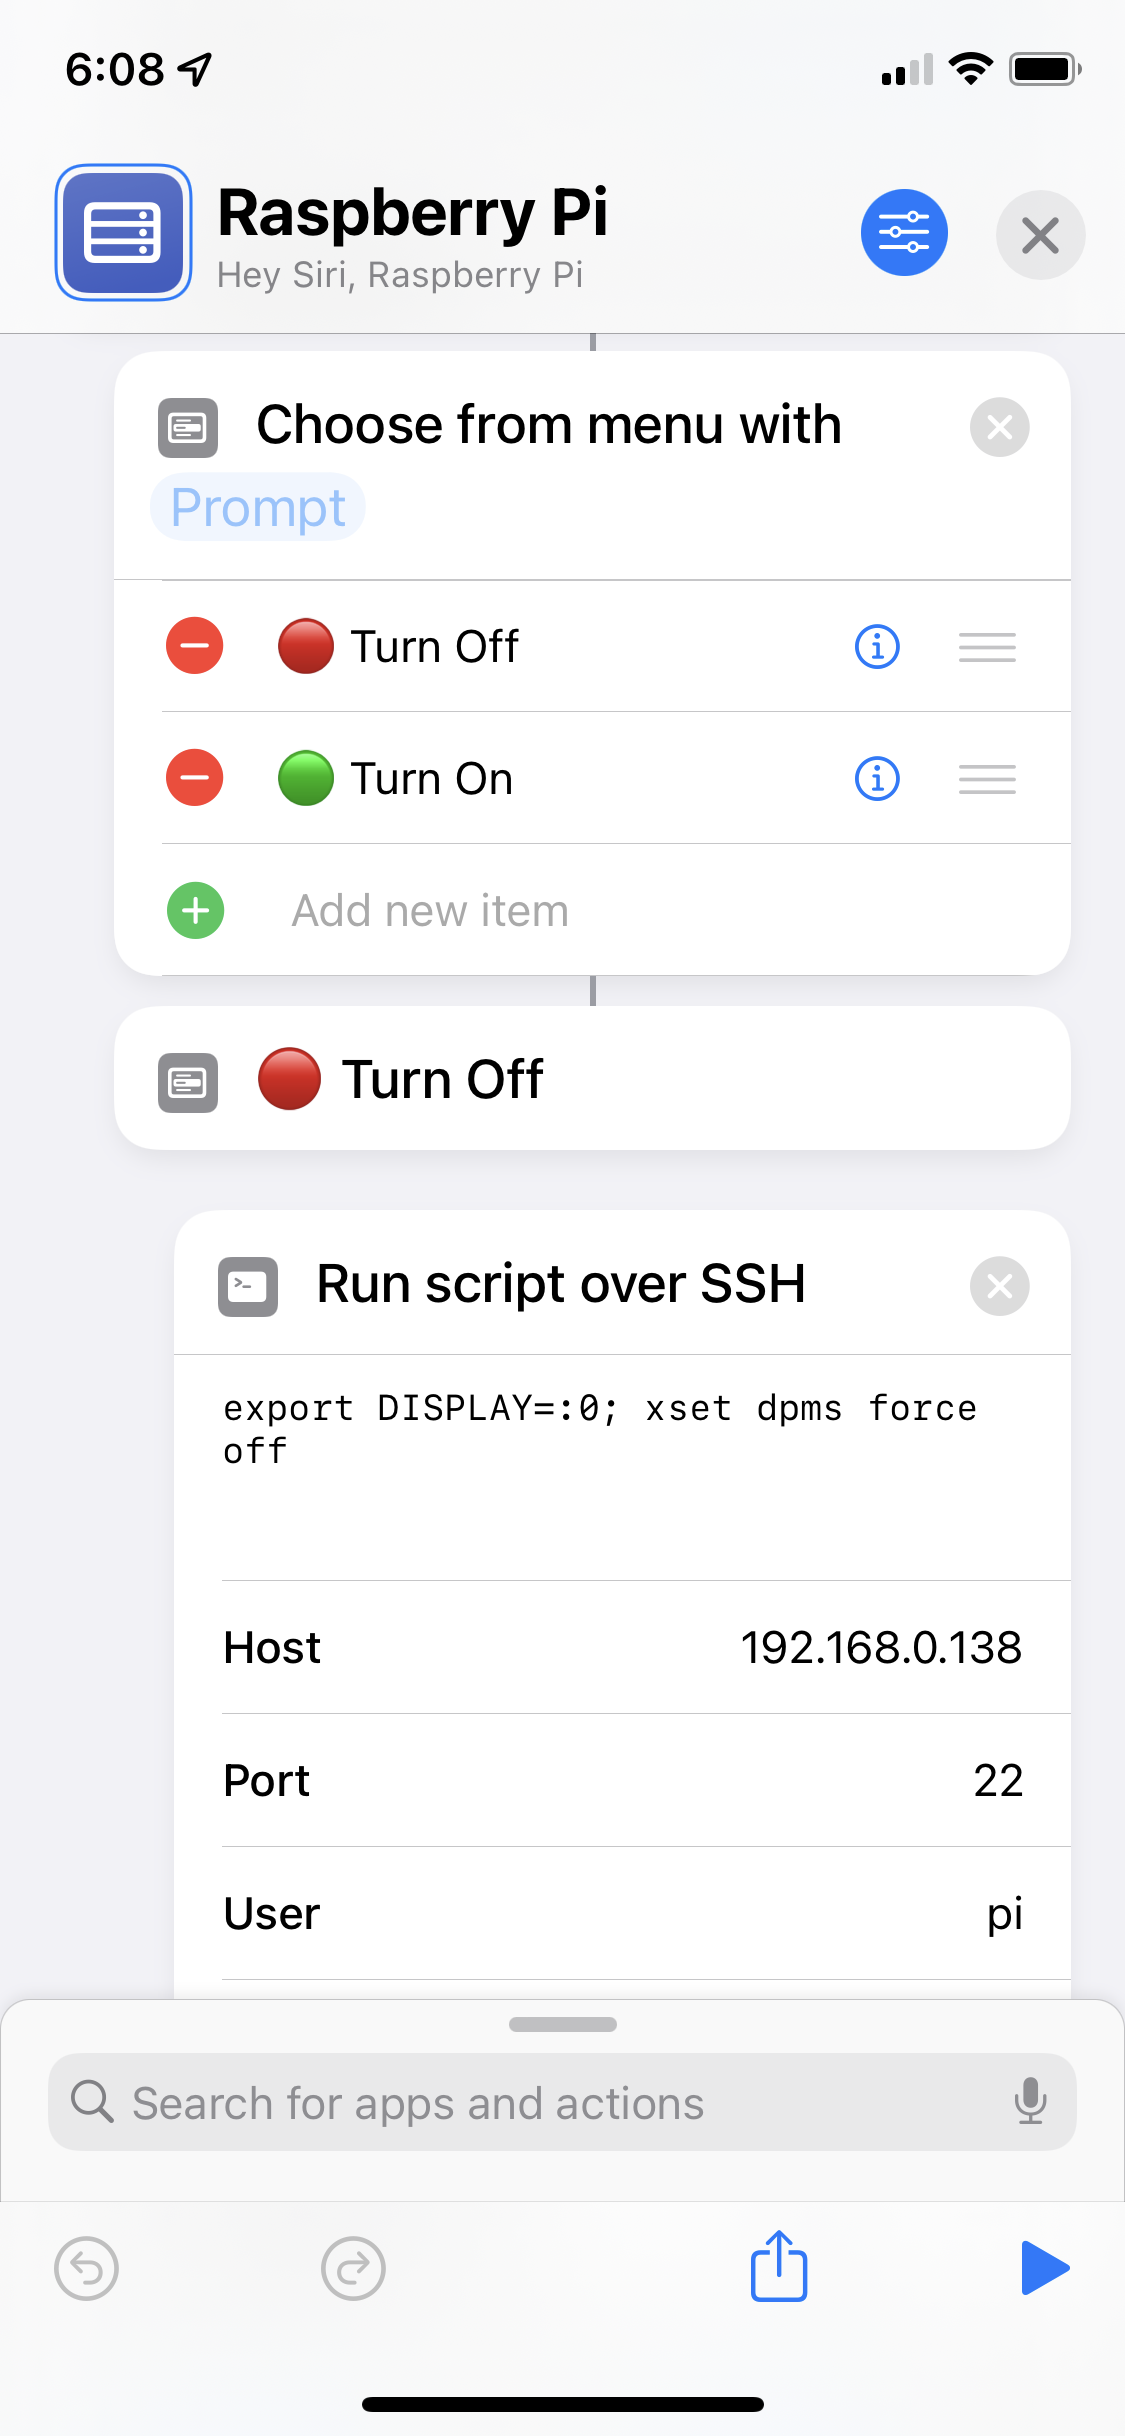
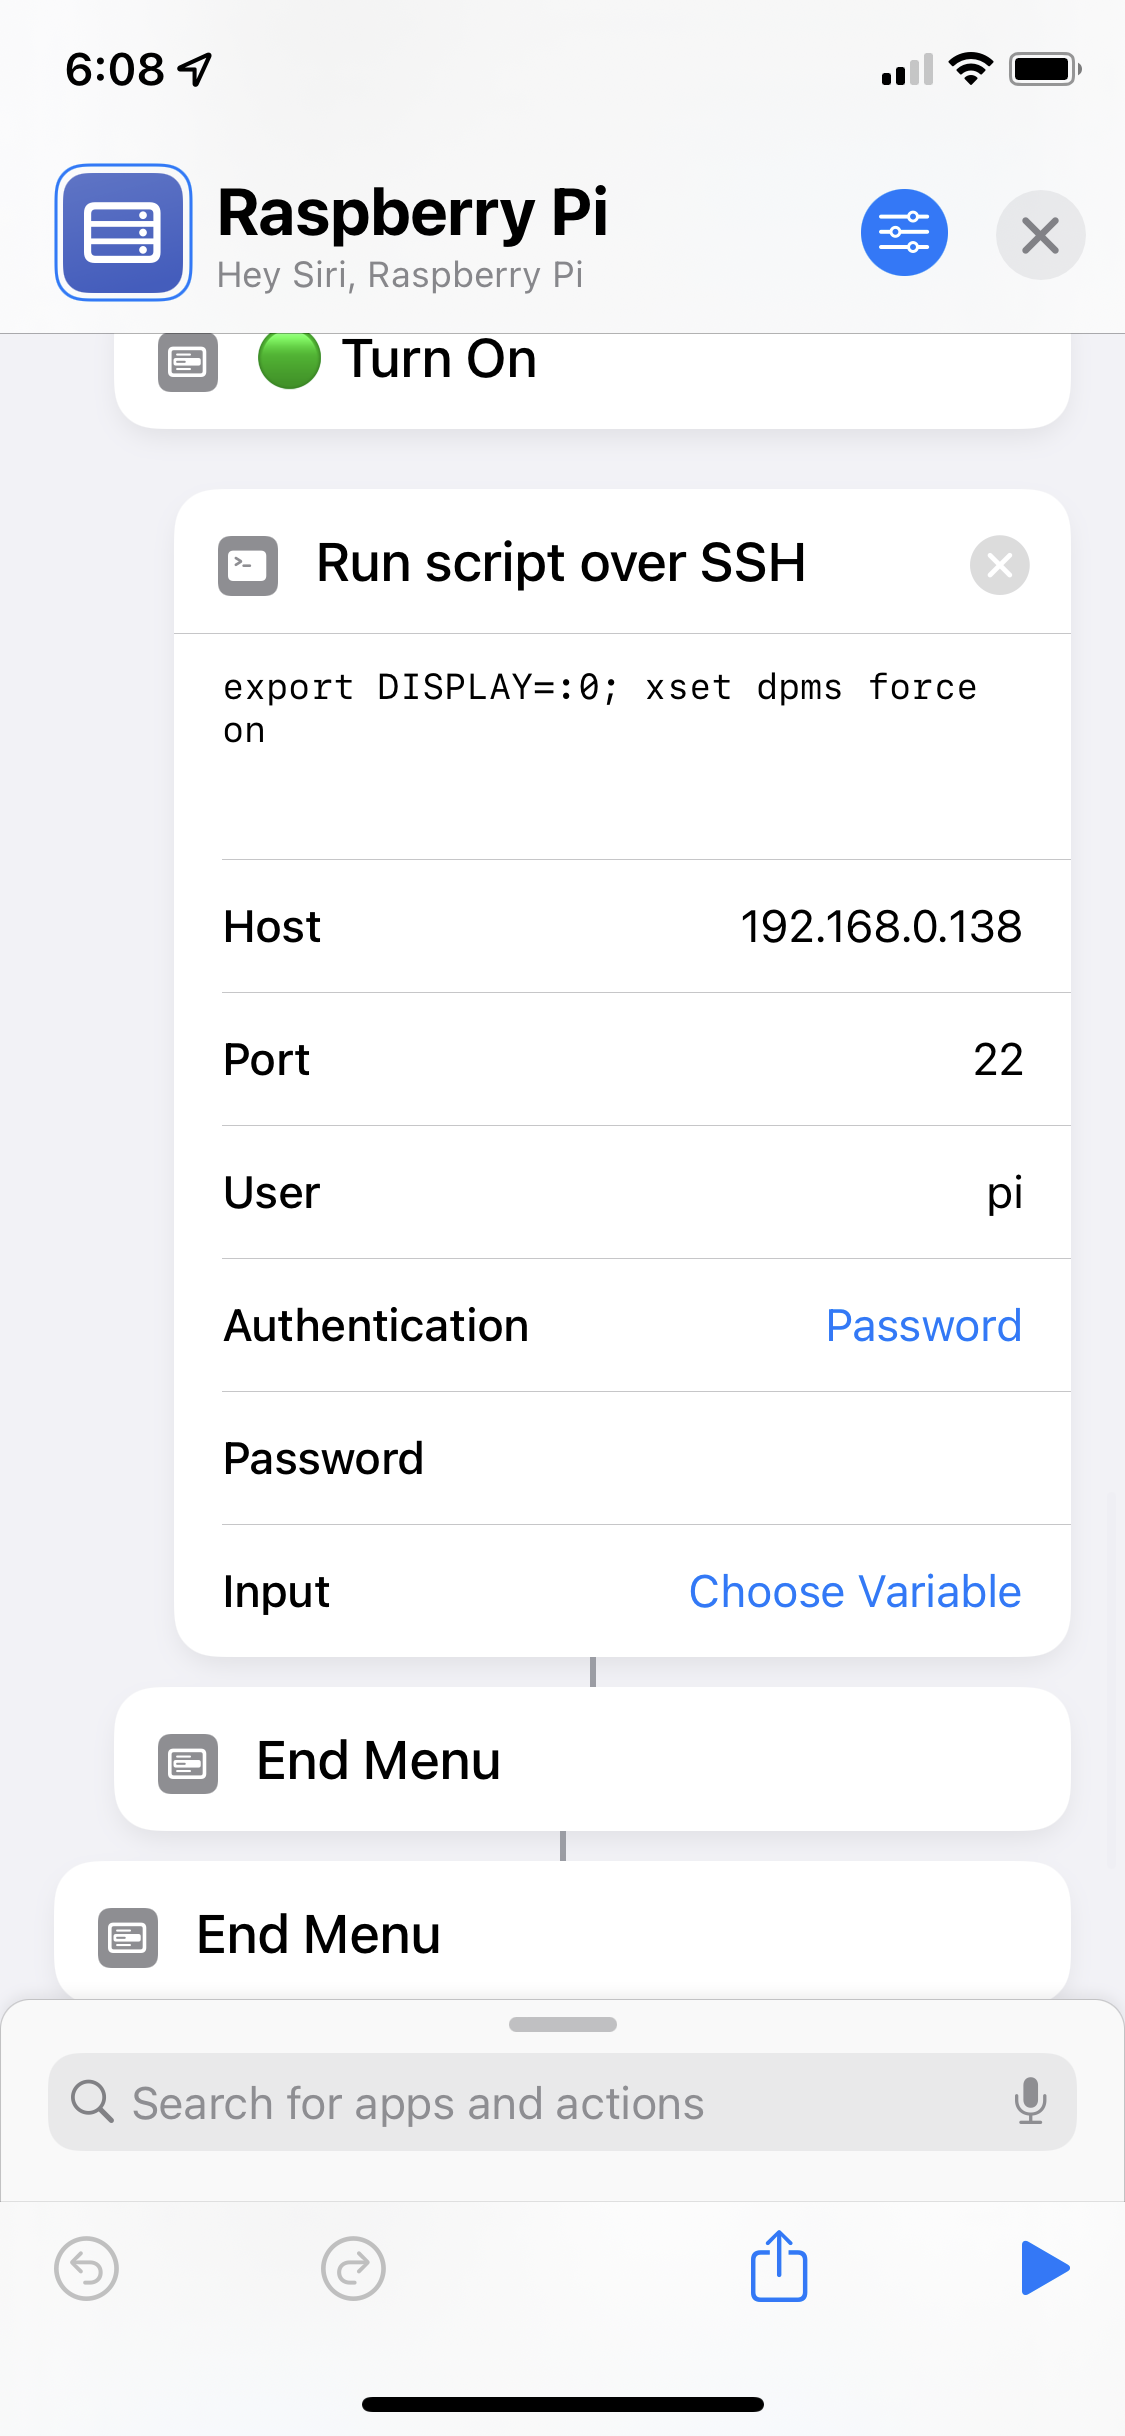
I created a Shortcut to control the Raspberry Pi with some basic commands. I then attached this into my Settings+ Shortcut that sits on my home screen, so I have easy access to all the options. You can duplicate what I created by changing out the IP address for your Pi:
Conclusion
All in all, I’m extremely happy with how everything turned out. It was a fun project to work on, it let me play around in some code again, and it let me design something new. Maybe my journey will inspire an idea in you, or feel free to steal/borrow/copy/improve upon what I've done here; I'd love to see/hear about other projects in this space. As my first toe-dip into the Raspberry Pi world, I'm beyond happy and impressed with the community and products.